KumiKreator bracelet
Do you have a KumiKreator machine and have no idea what to do with it, then this DIY is definitely for you!
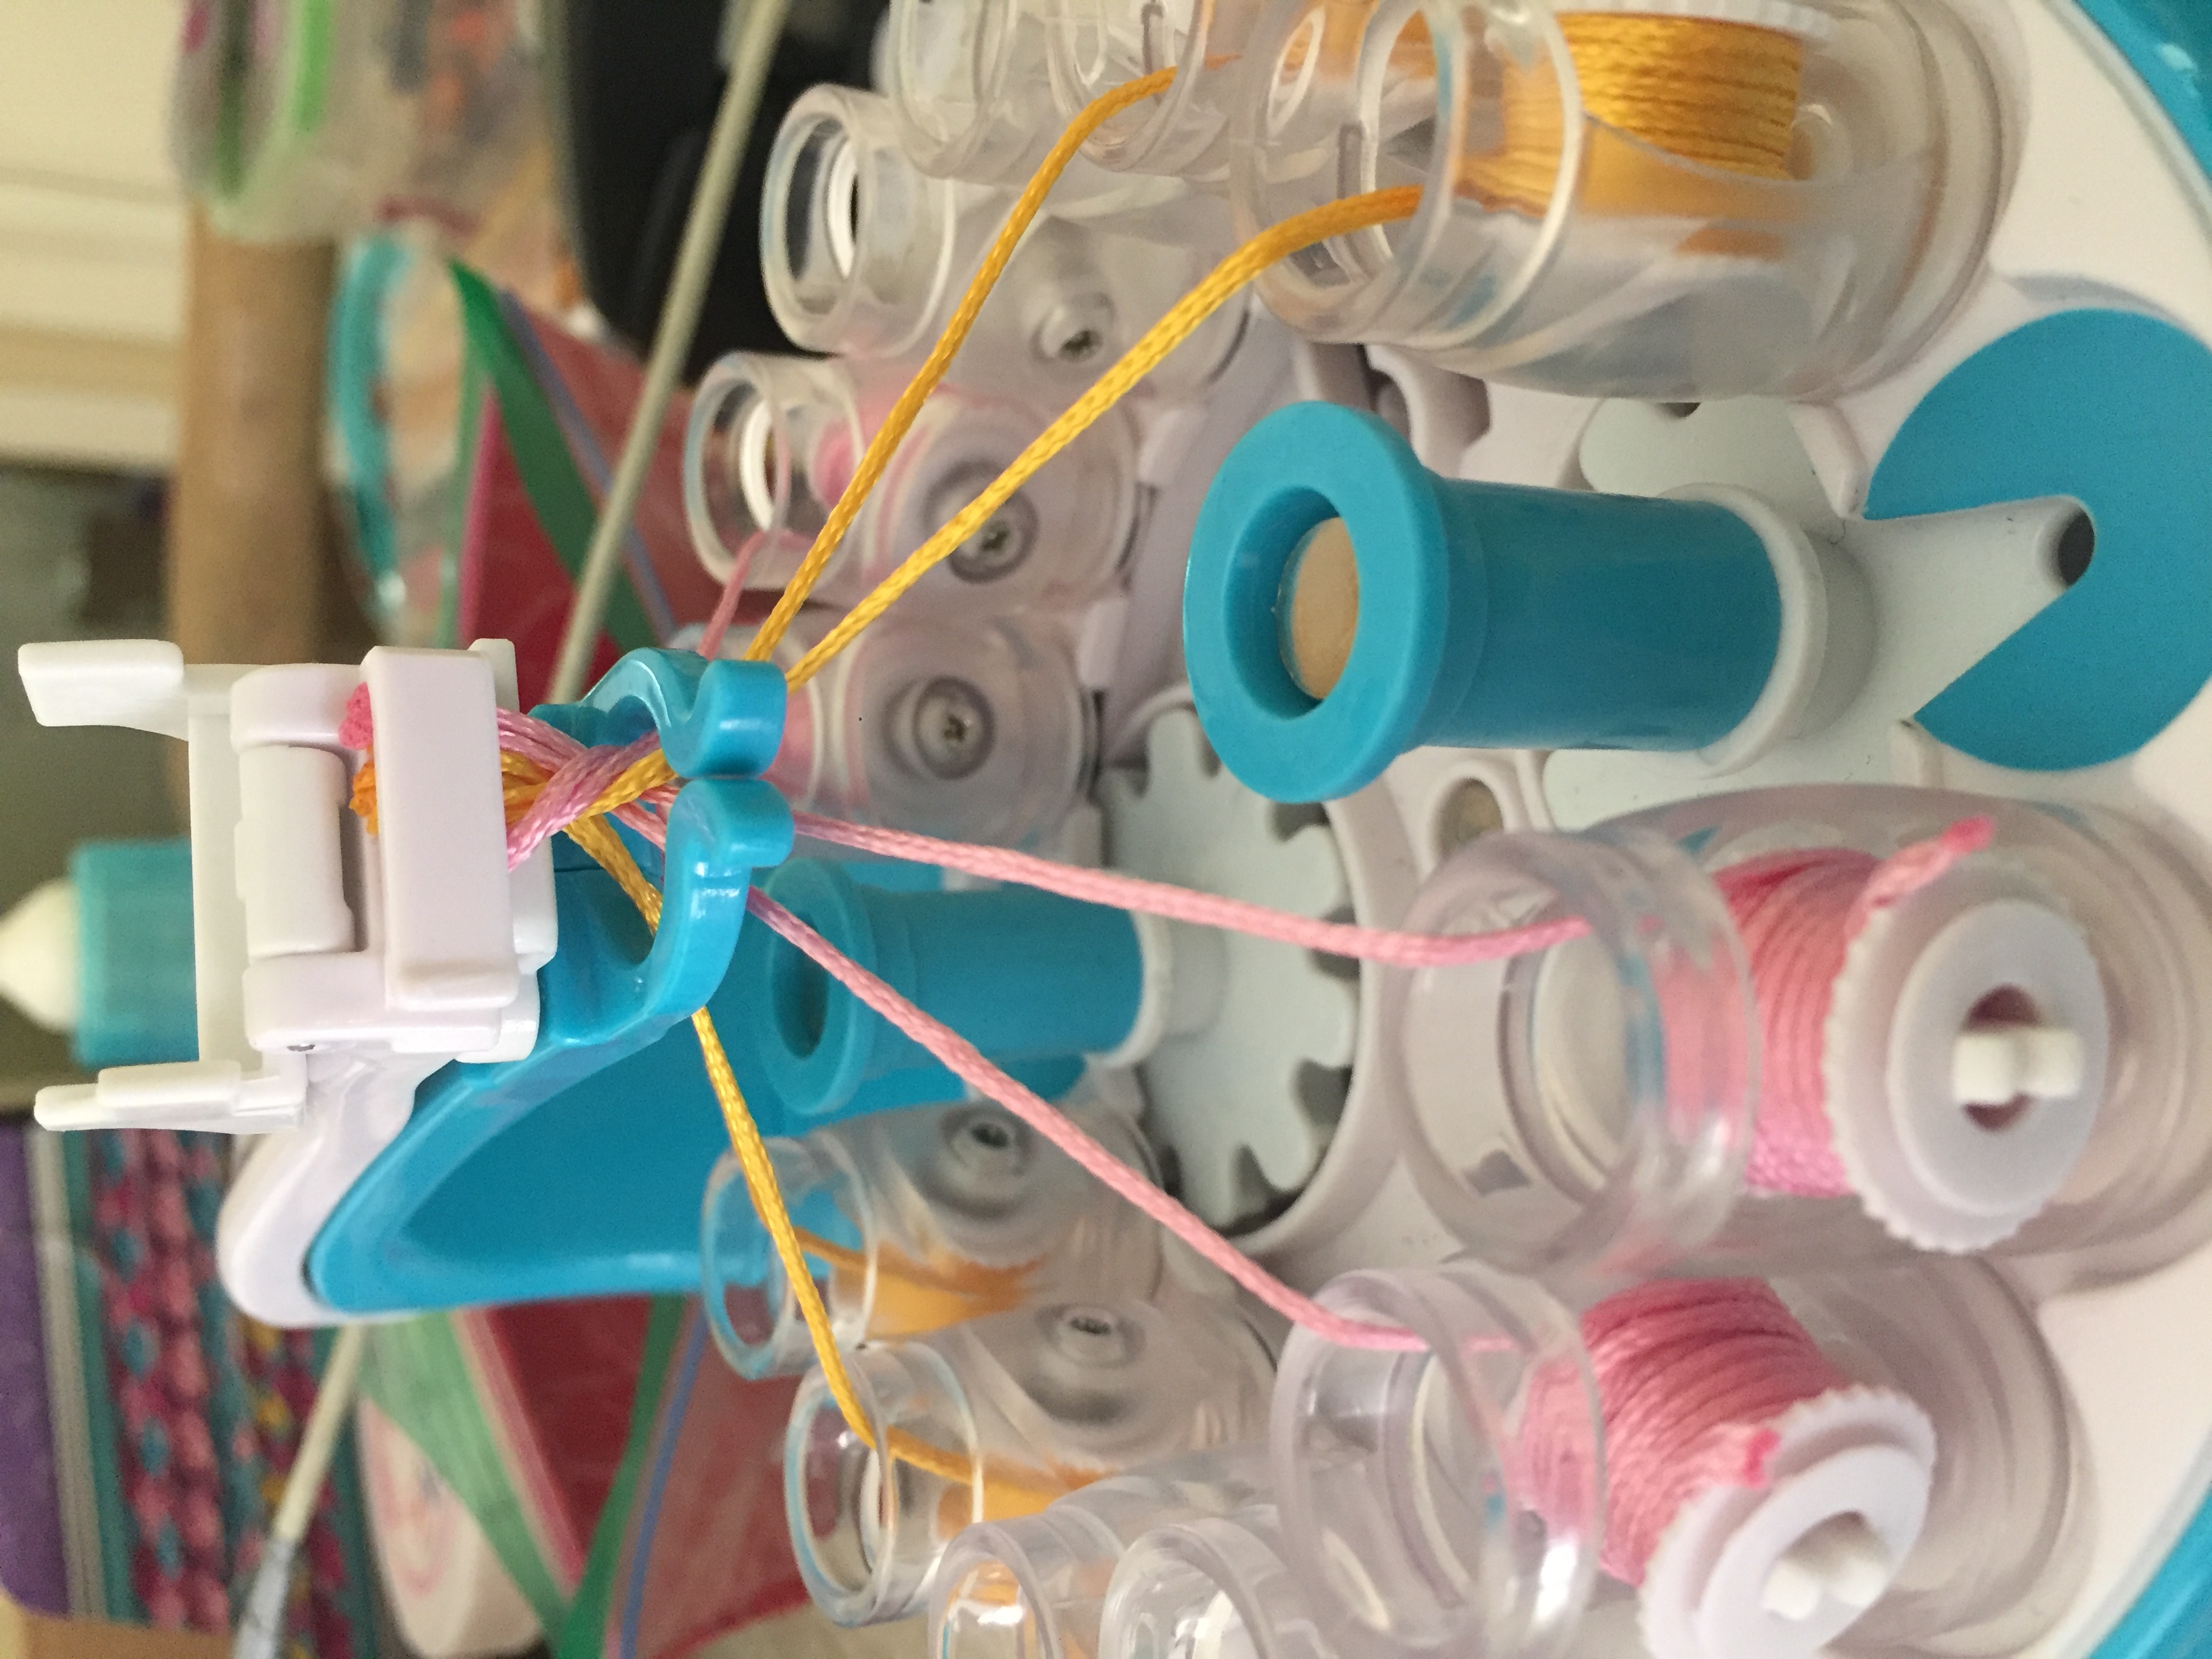
First, you need to put in 8 strings spools like the ones in the picture. Then pull each string from the side of the string holder. Pull the string through the blue hoop and clip it to the white clip. Repeat this for all 8 strings.
Note: You may notice the string loosen on the string spool. You can tighten these by twisting the white rim on the spool.

After adding the stings pull the white flip tab down. This will keep all the strings together. See photo above.
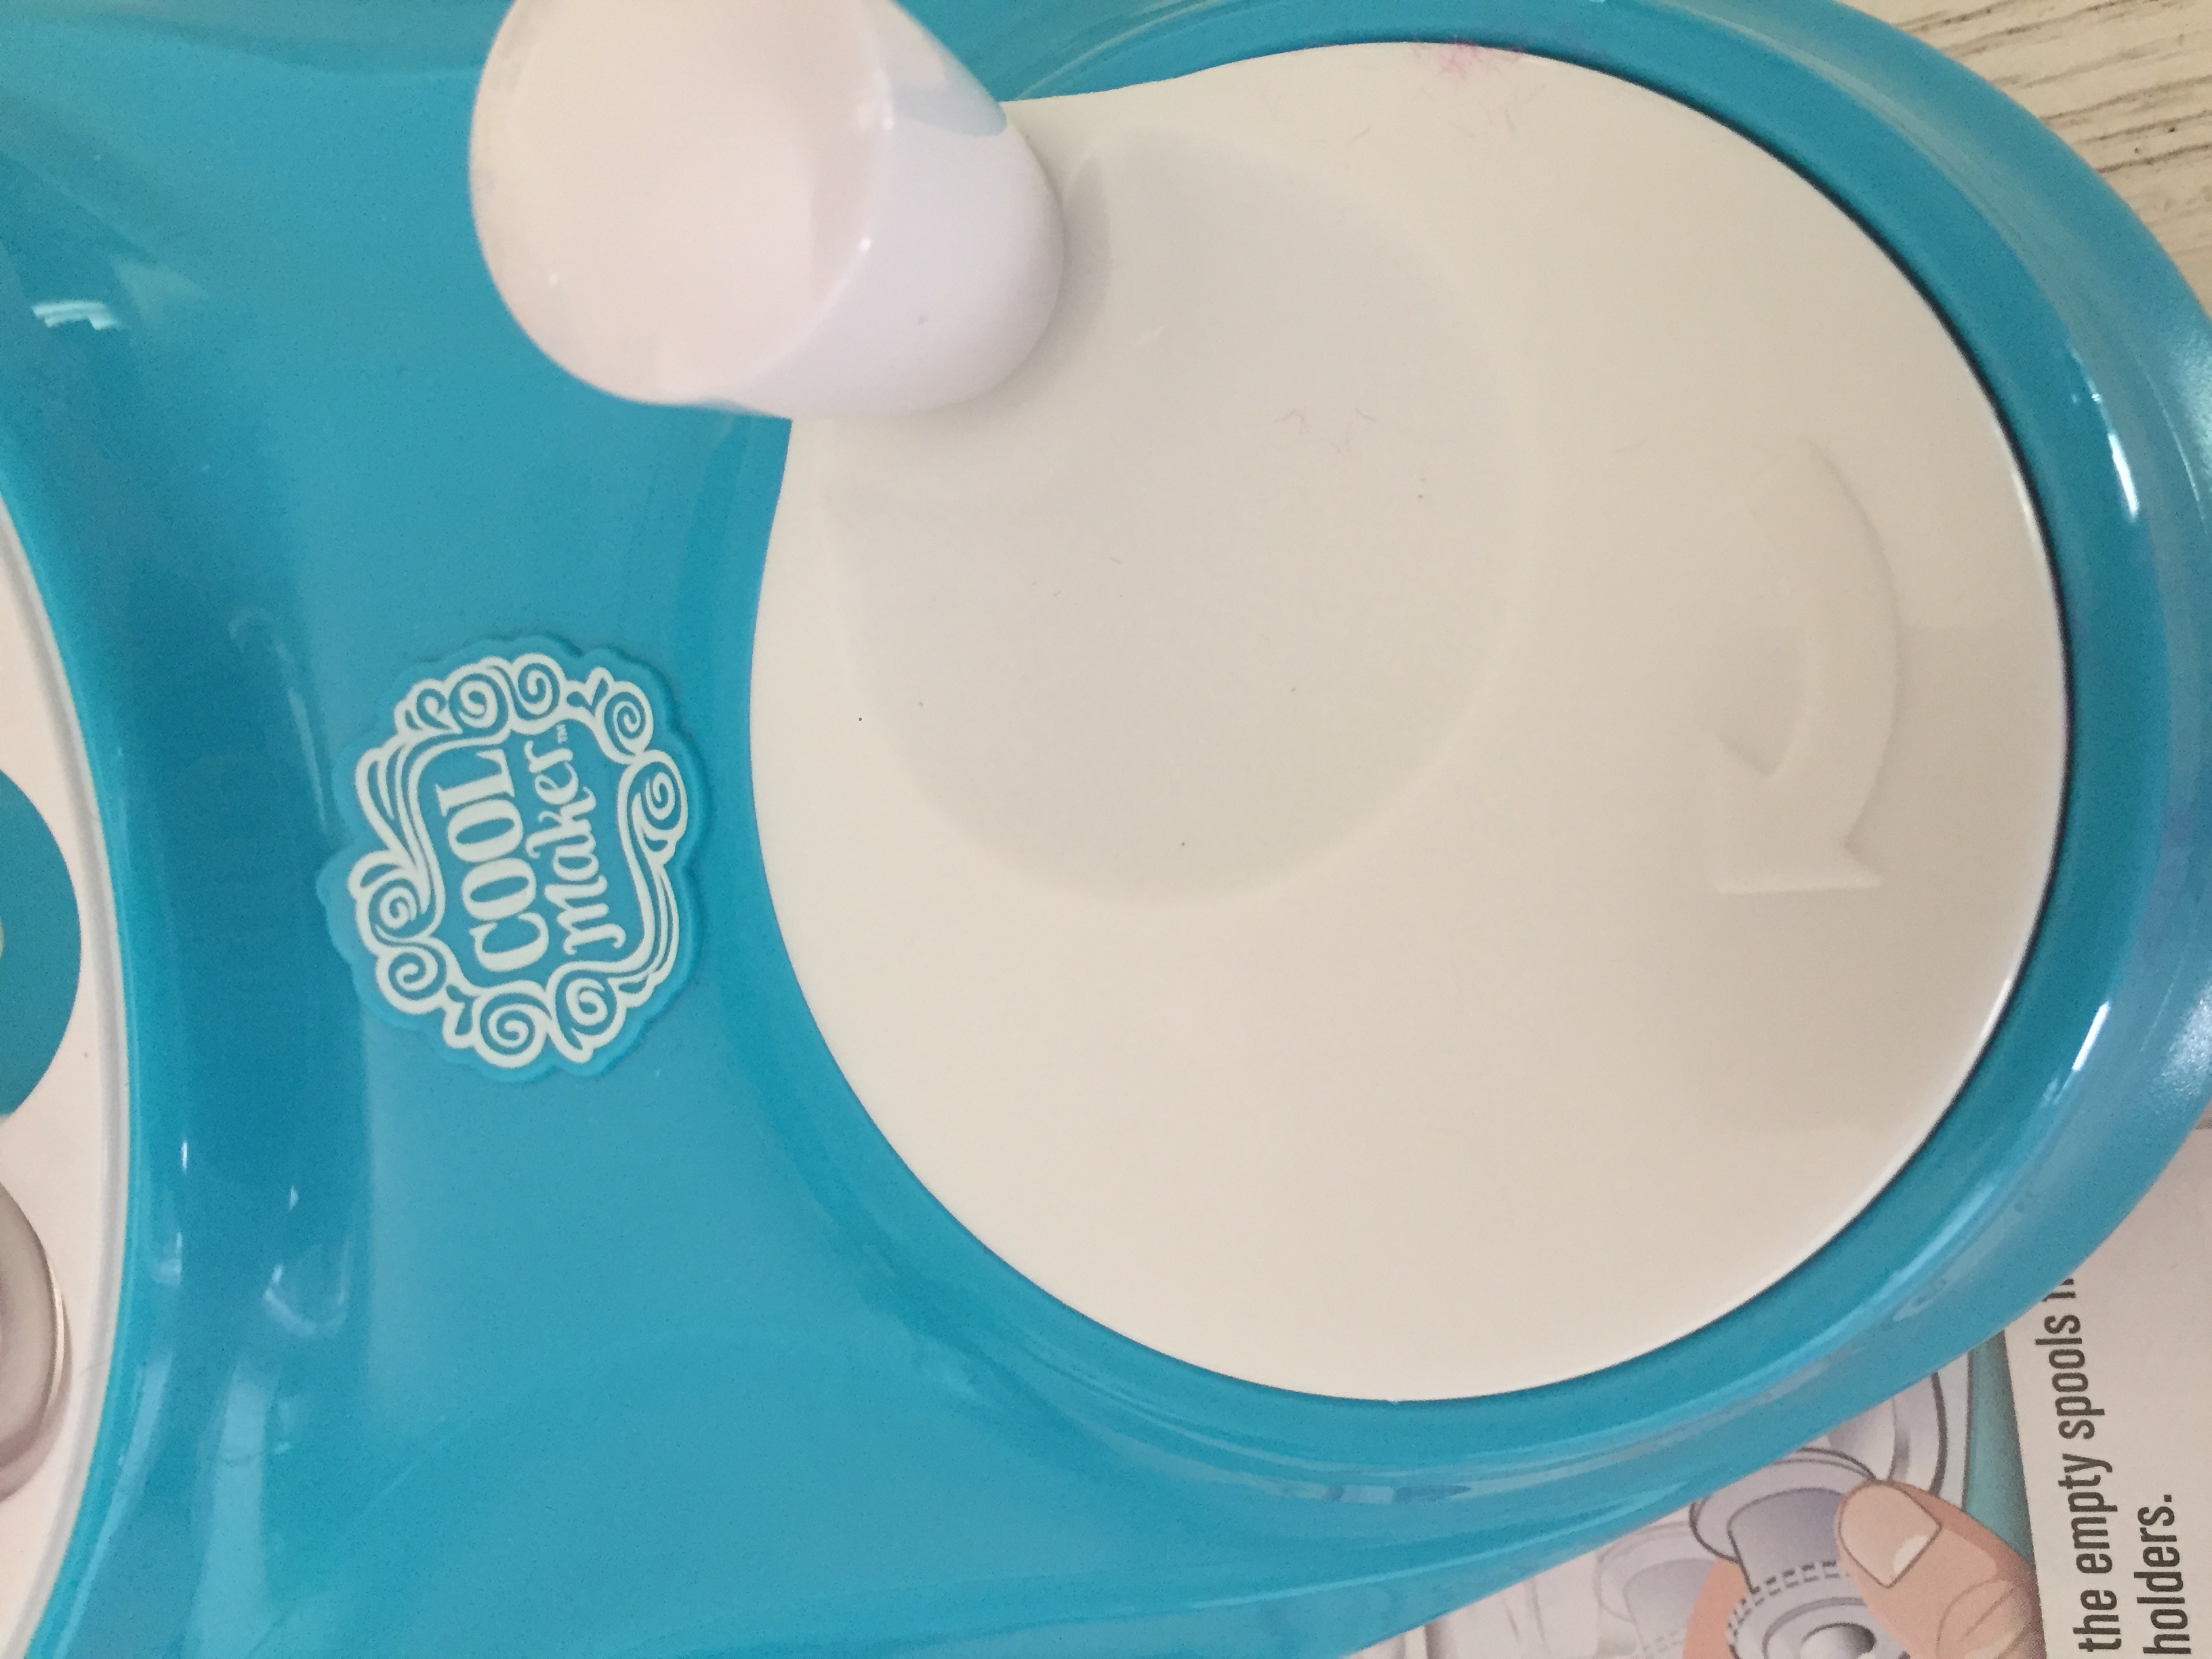
Now here comes the fun part! At the bottom of the machine there should be a spinner. Before you spin, check the “Is your bracelet ready” booklet that should be included with the box. If you’ve checked all the boxes, then you are ready to spin spin spin!
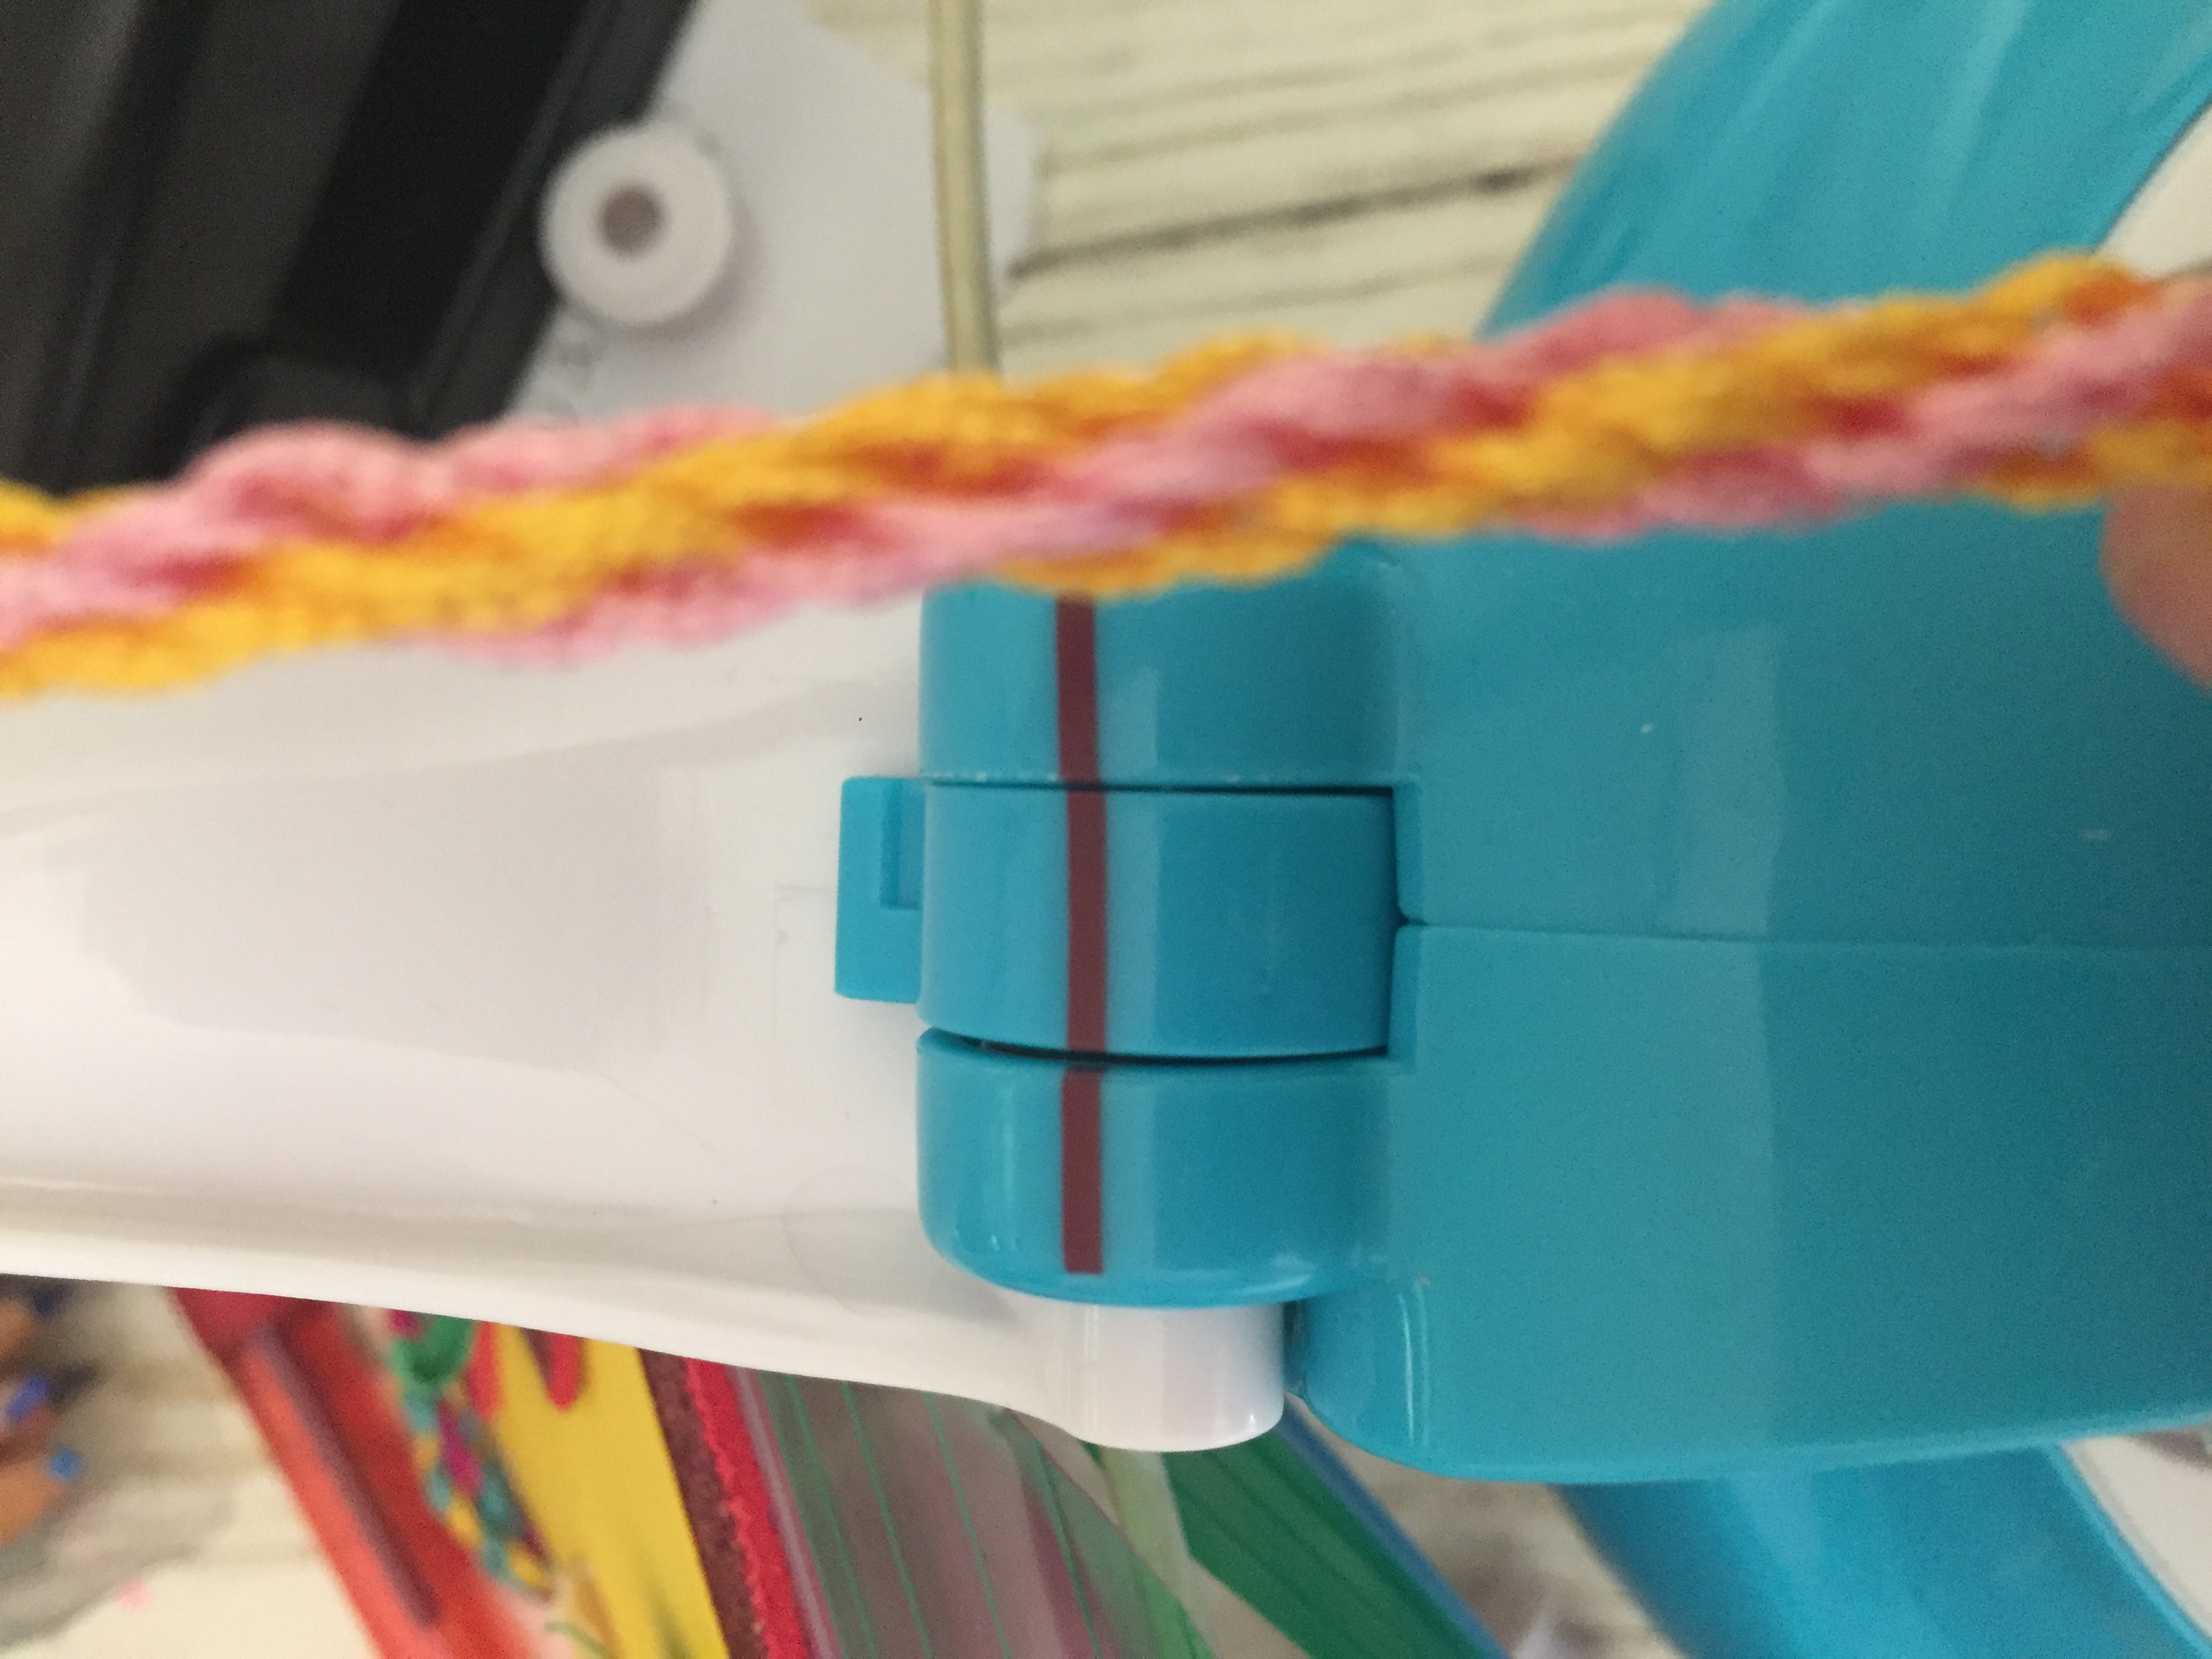
You’re probably thinking how long do I spin for? Well here is your answer! You should stop spinning once you see the red line at the top of the machine (see photo above).
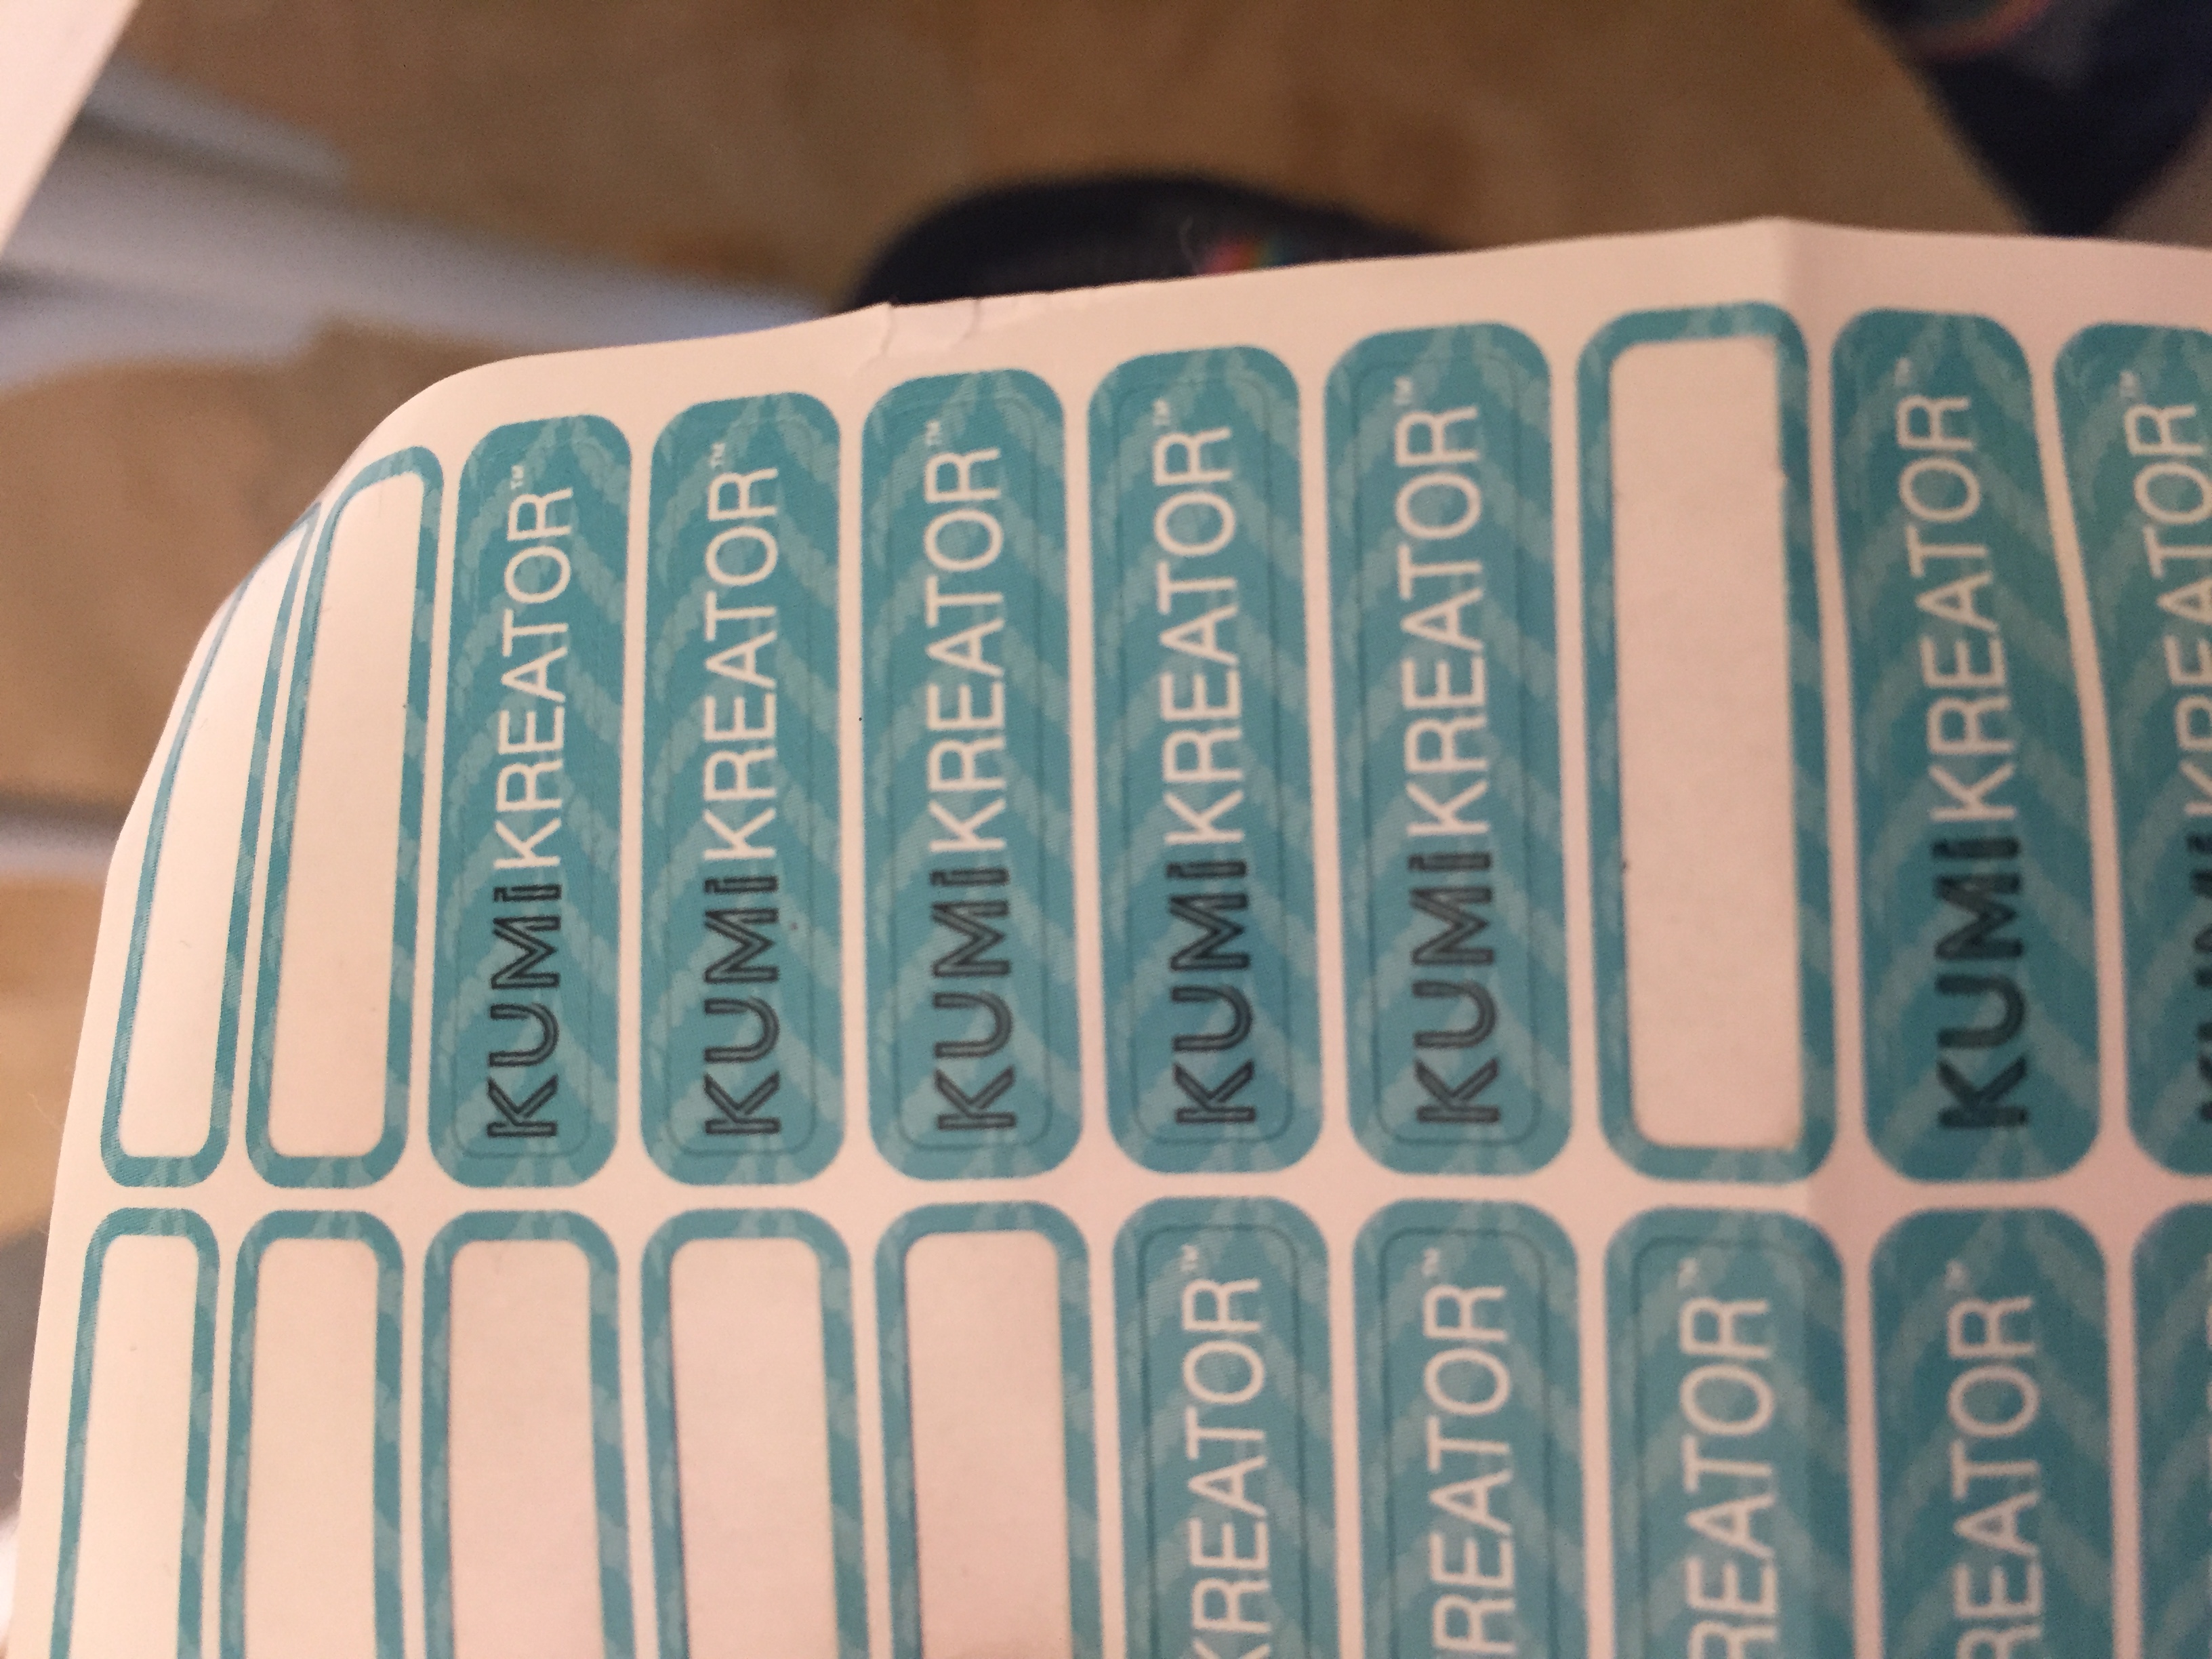
Now take a clasp sticker and put it at the top of your bracelet.You will need these again in a sec so hold on to them.
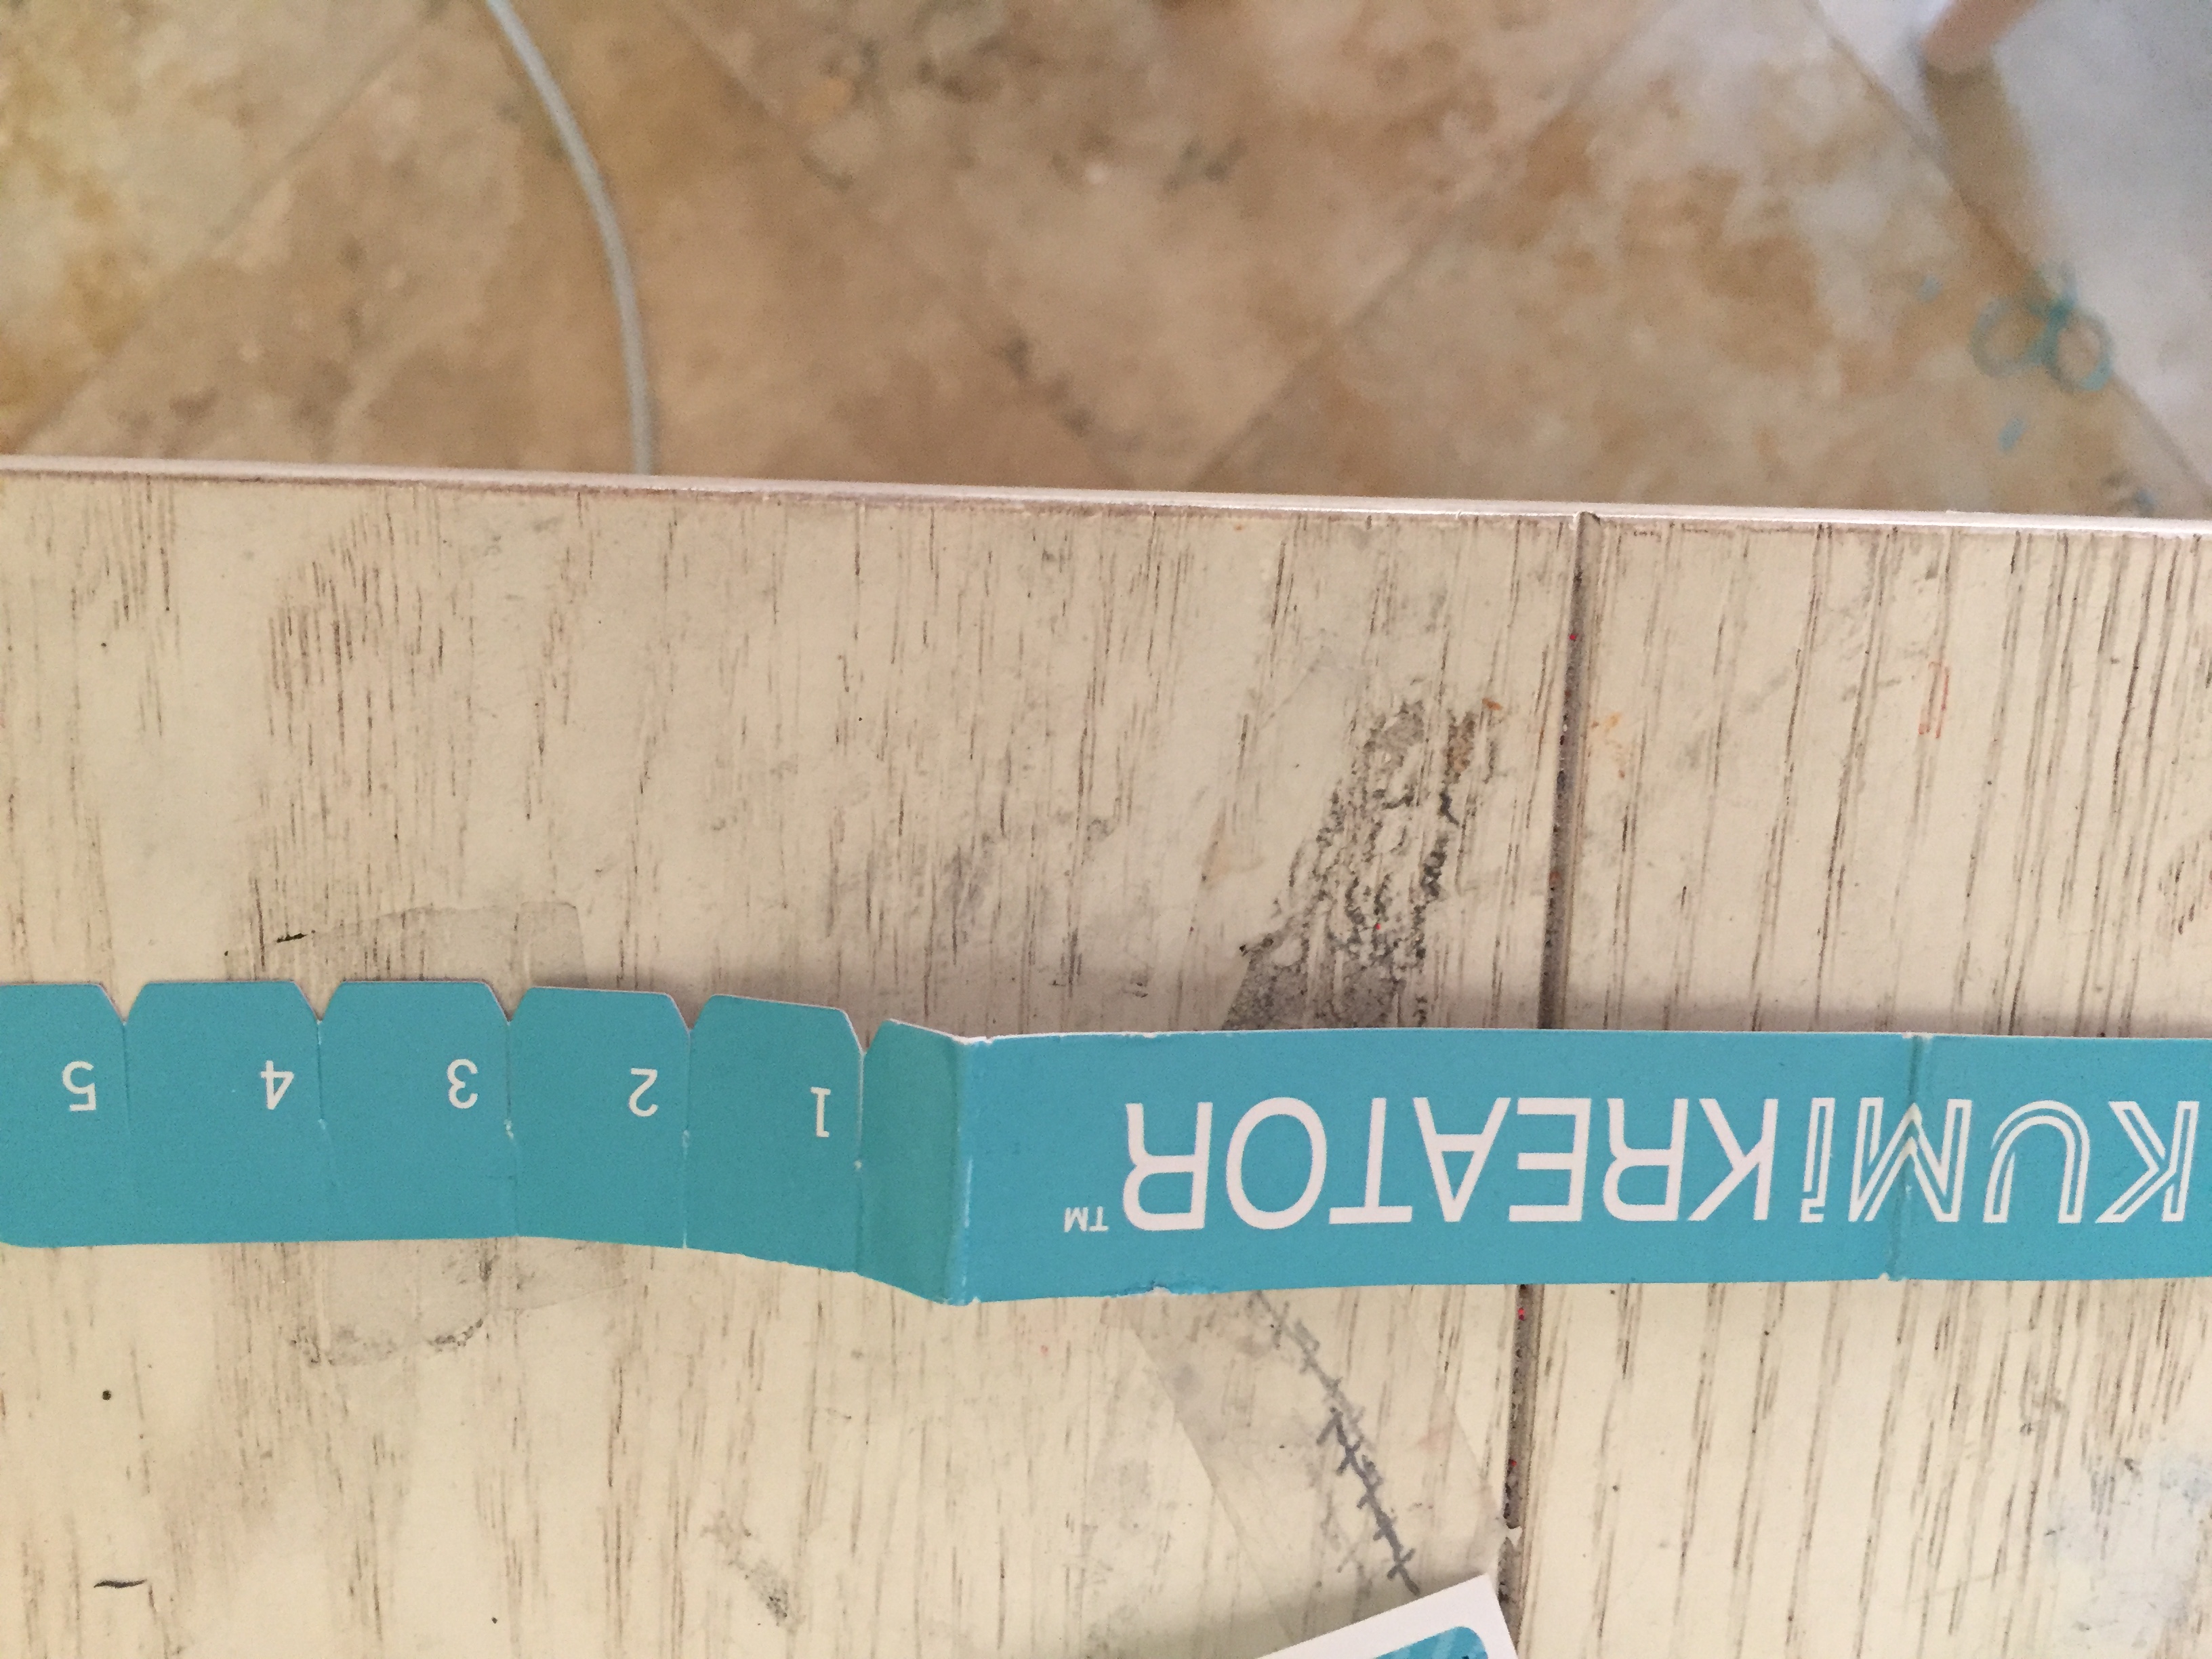
Now measure your wrist or the wrist of the lucky person you are making the bracelet for. If you don’t have this person at your house then try to make it the biggest size. Keep holding onto those clasp stickers!
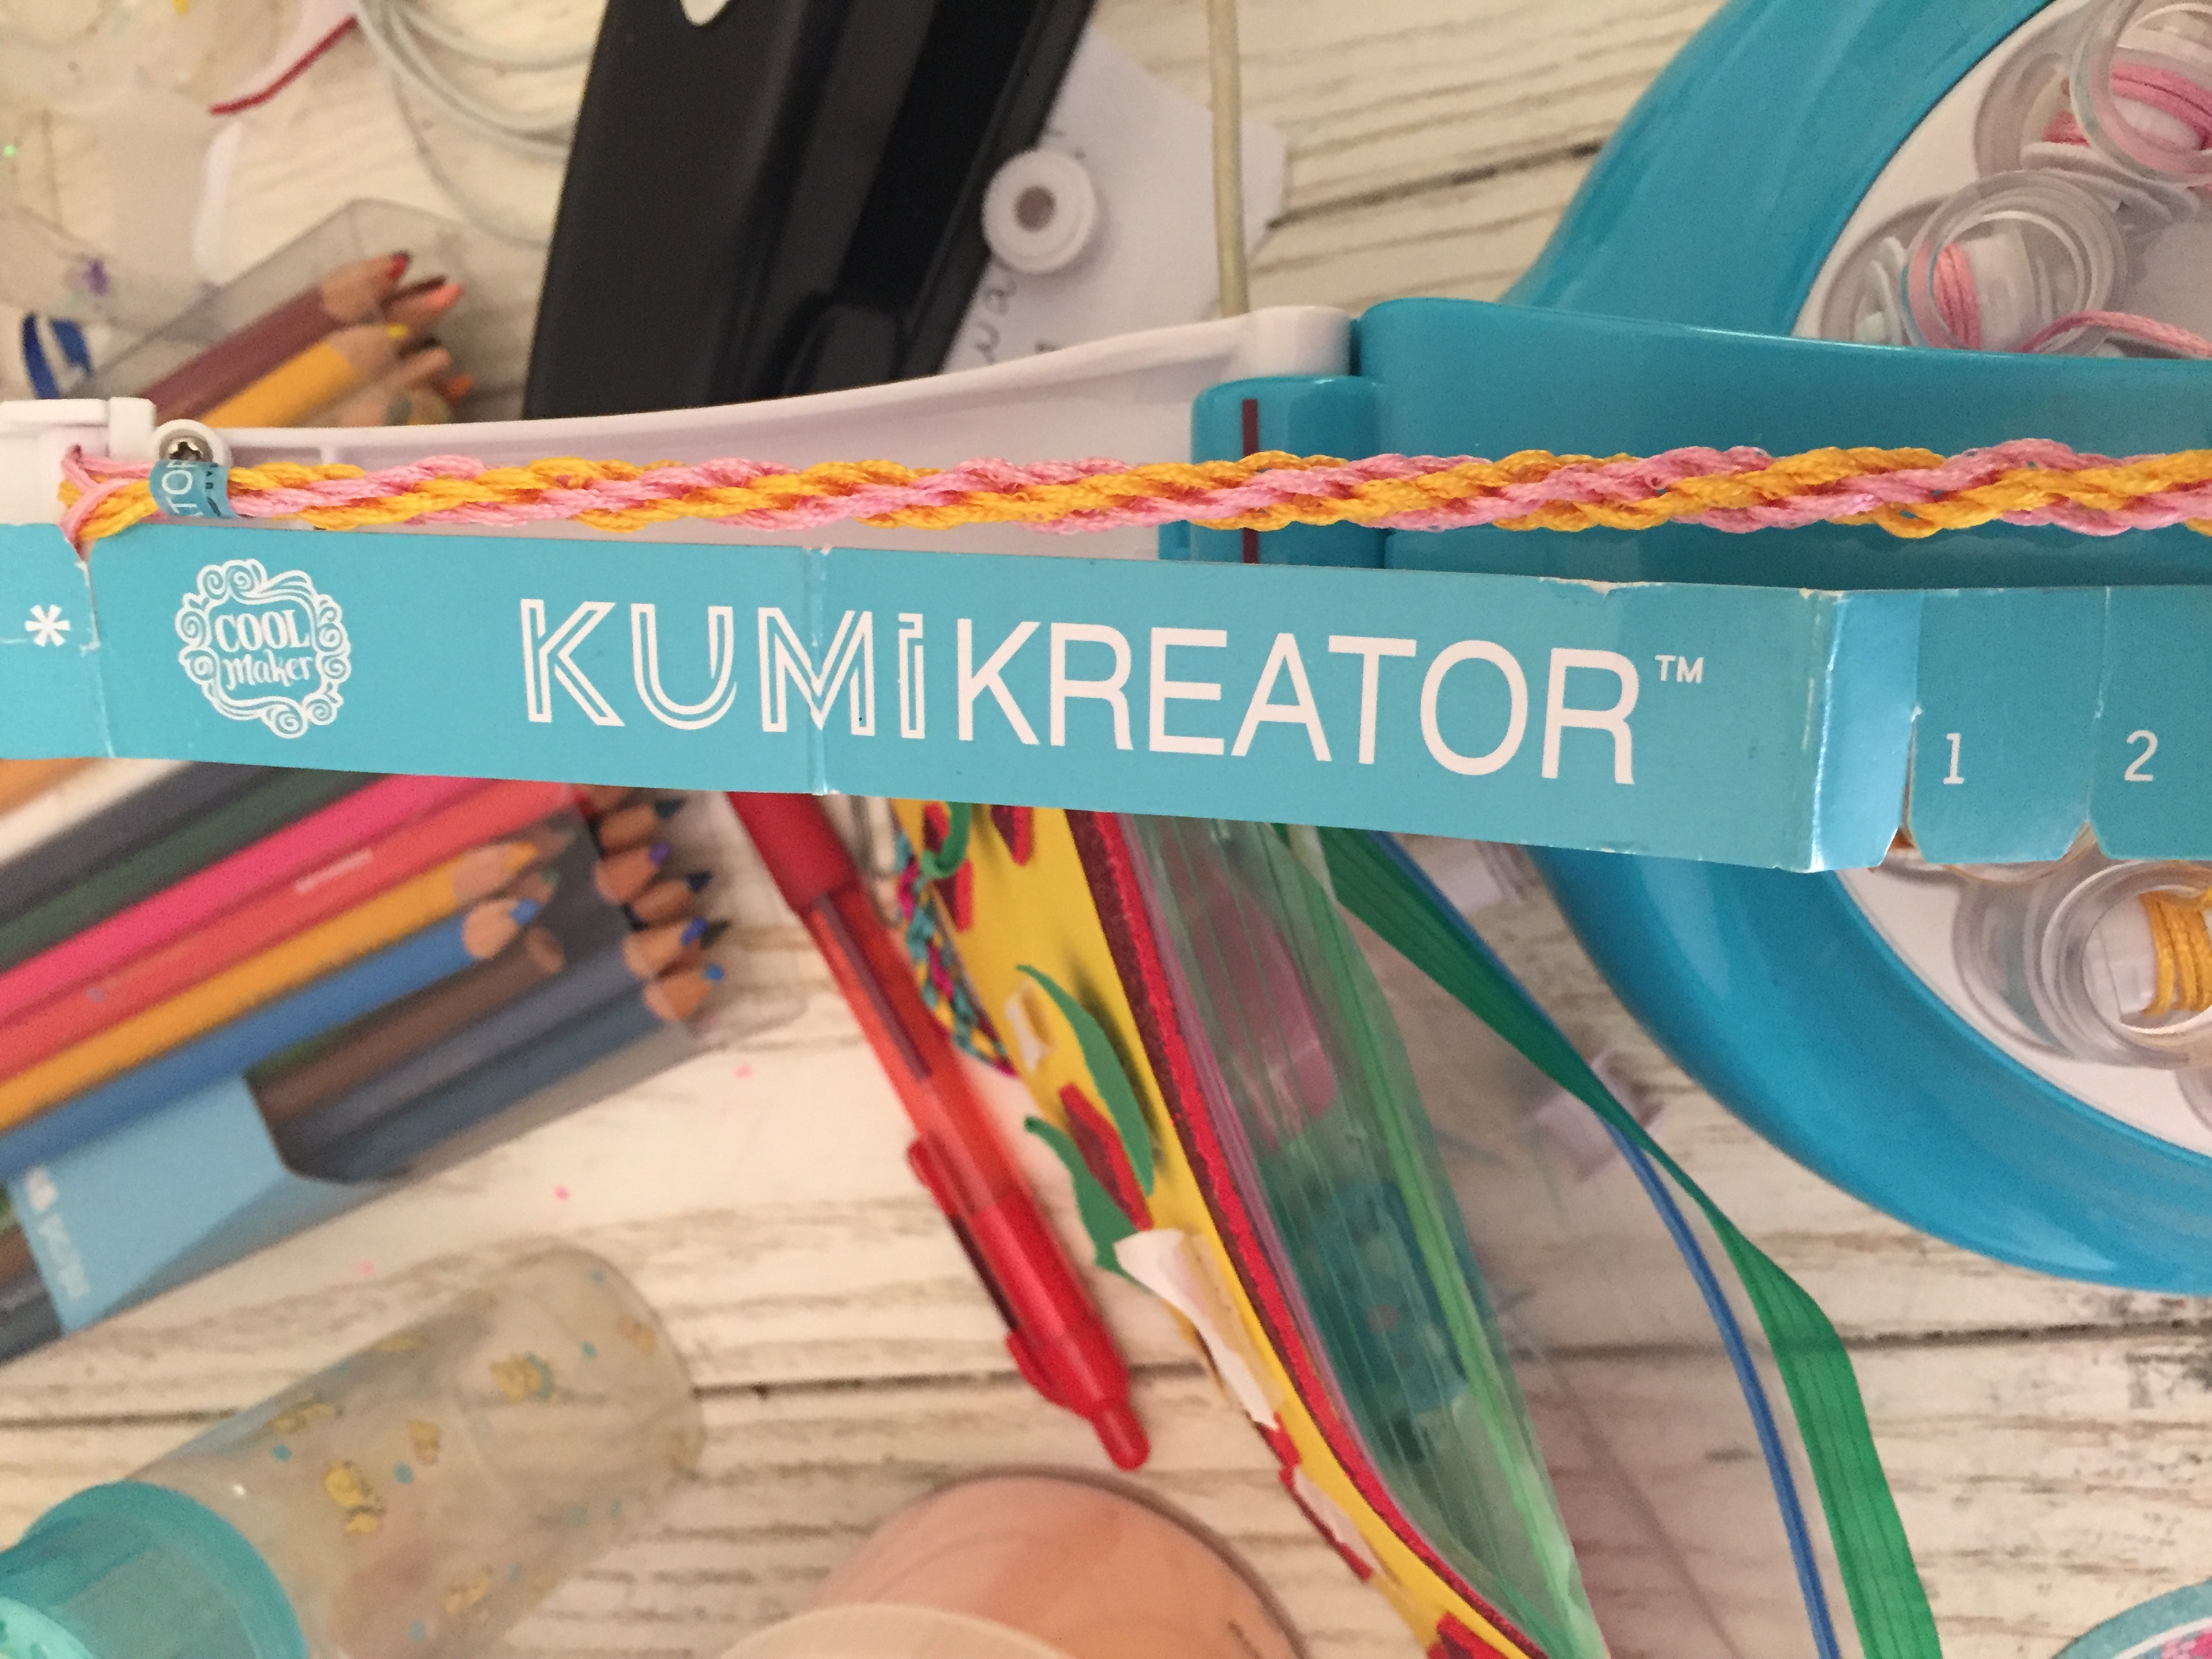
Once you have measured the length of the bracelet, put a clasp sticker at the end. OK, now you can put away the clasp stickers.
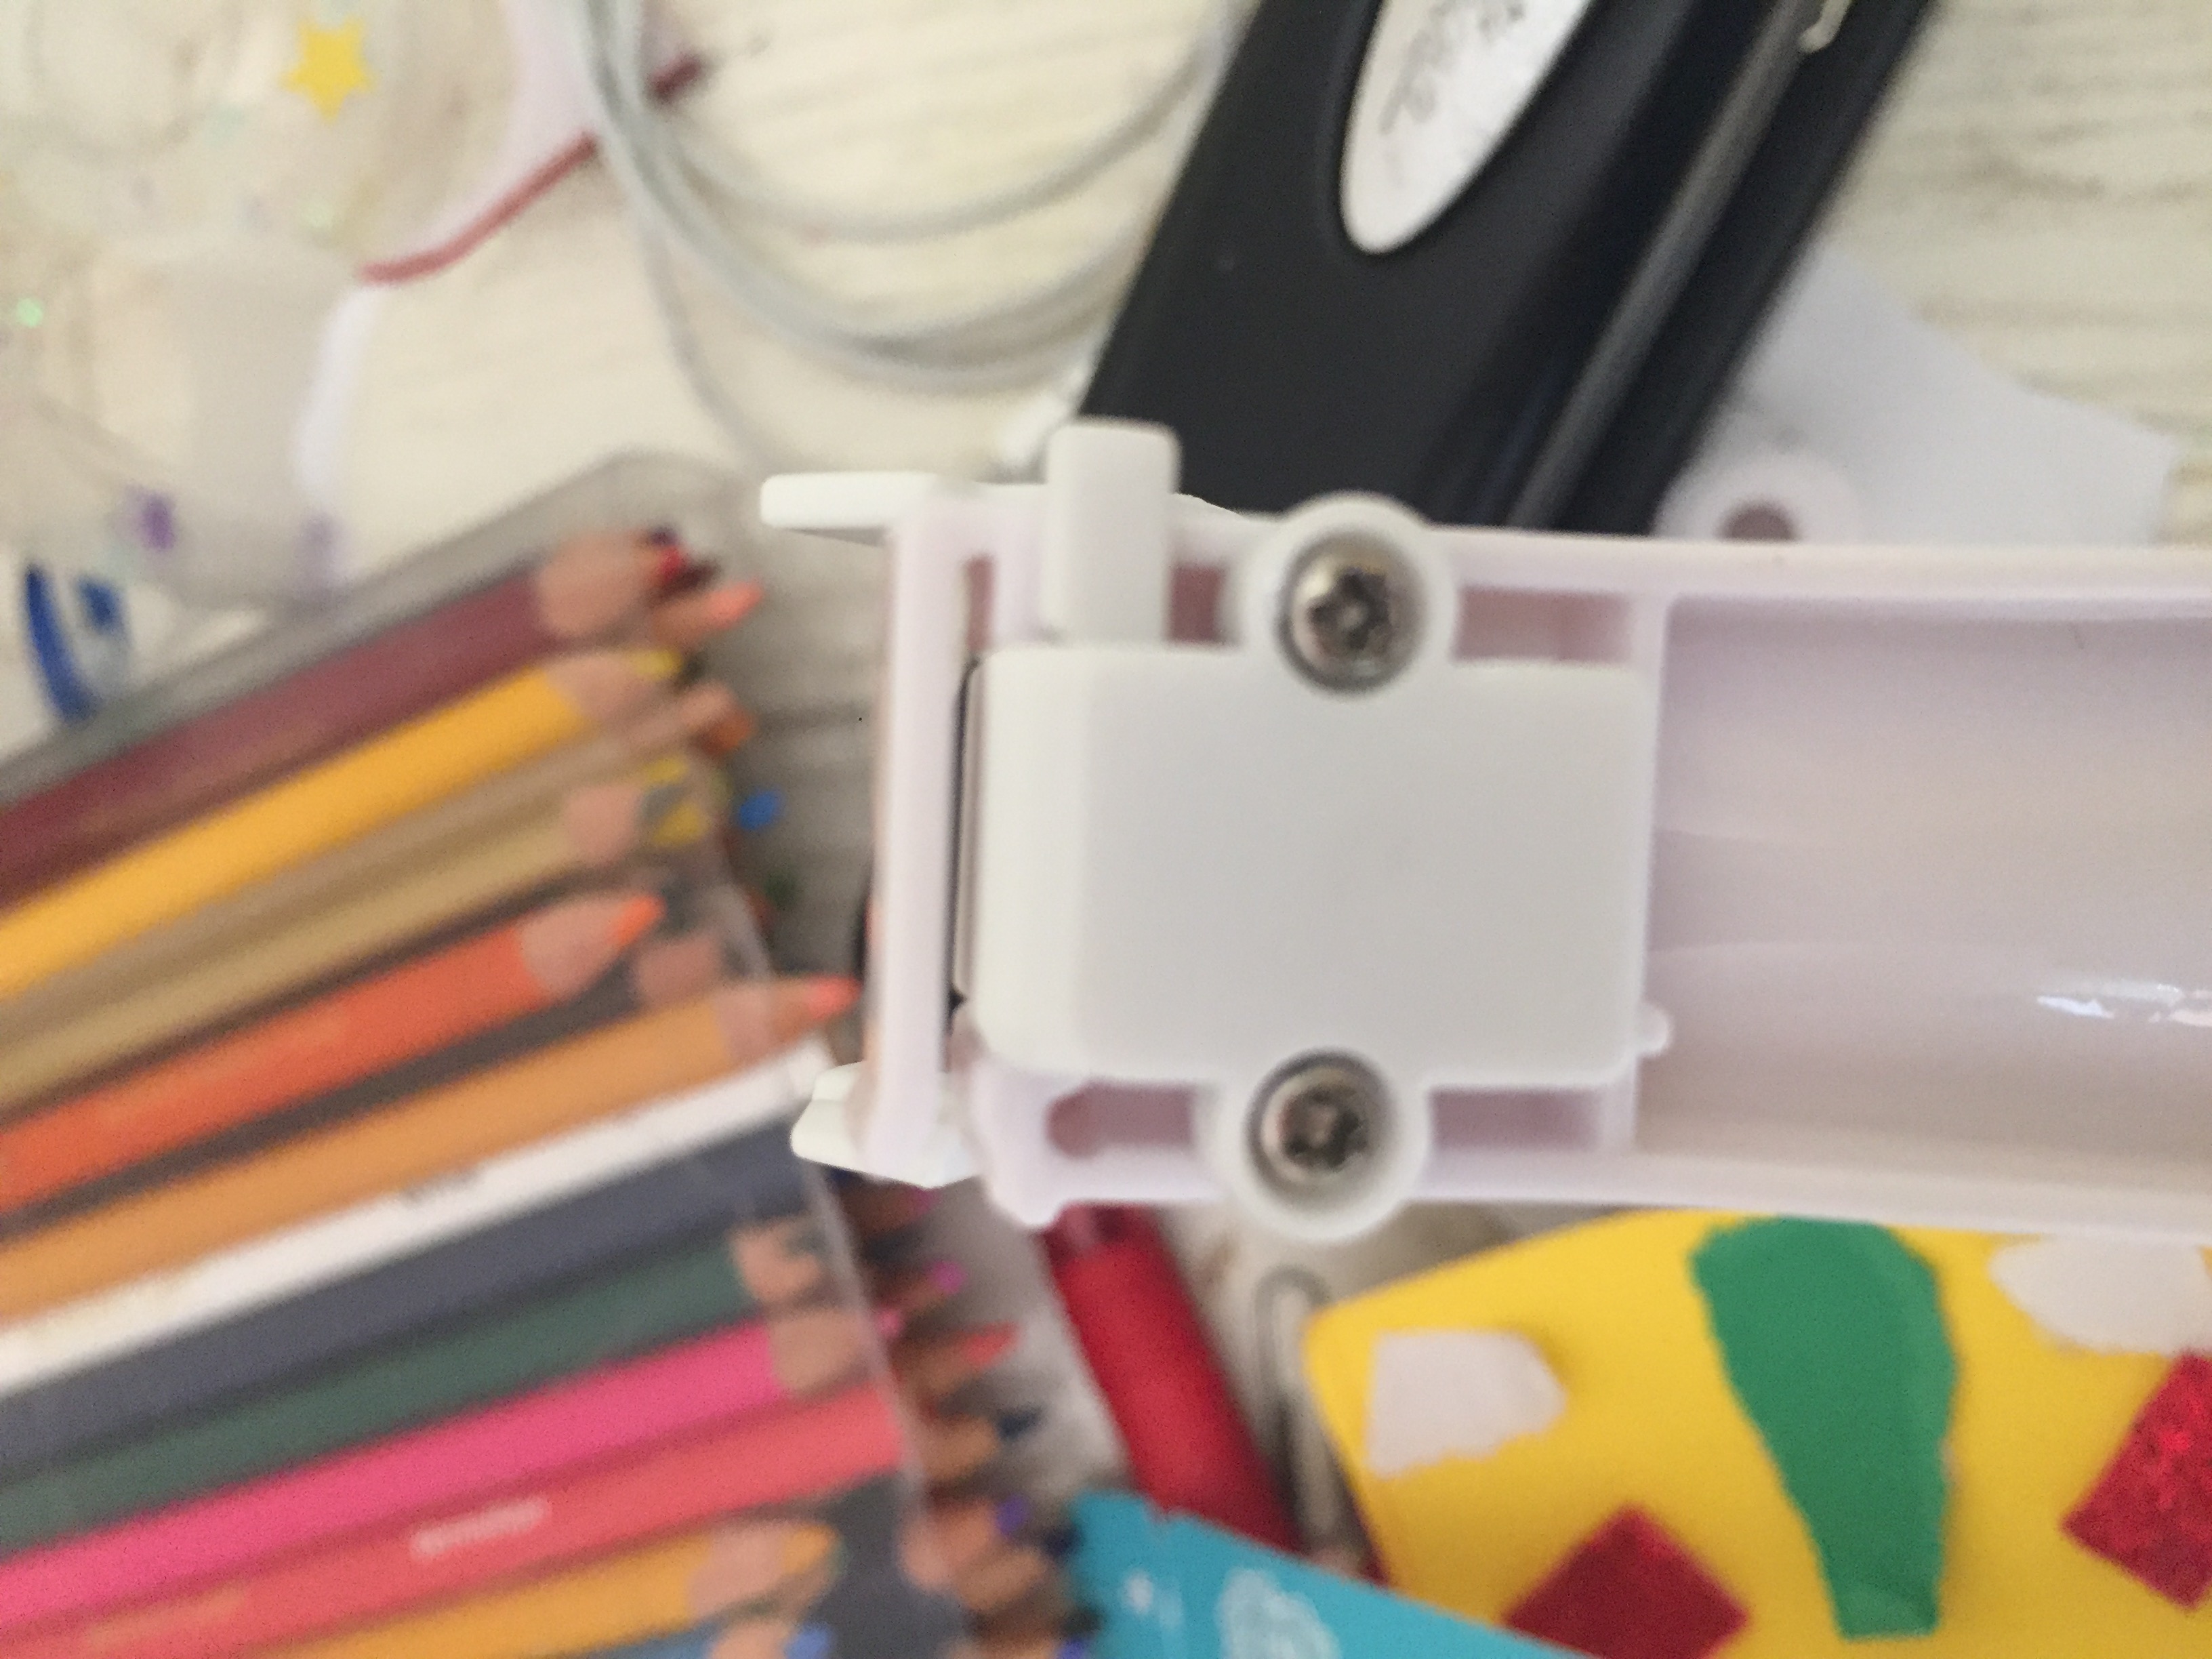
Now lift the white flip tab up.
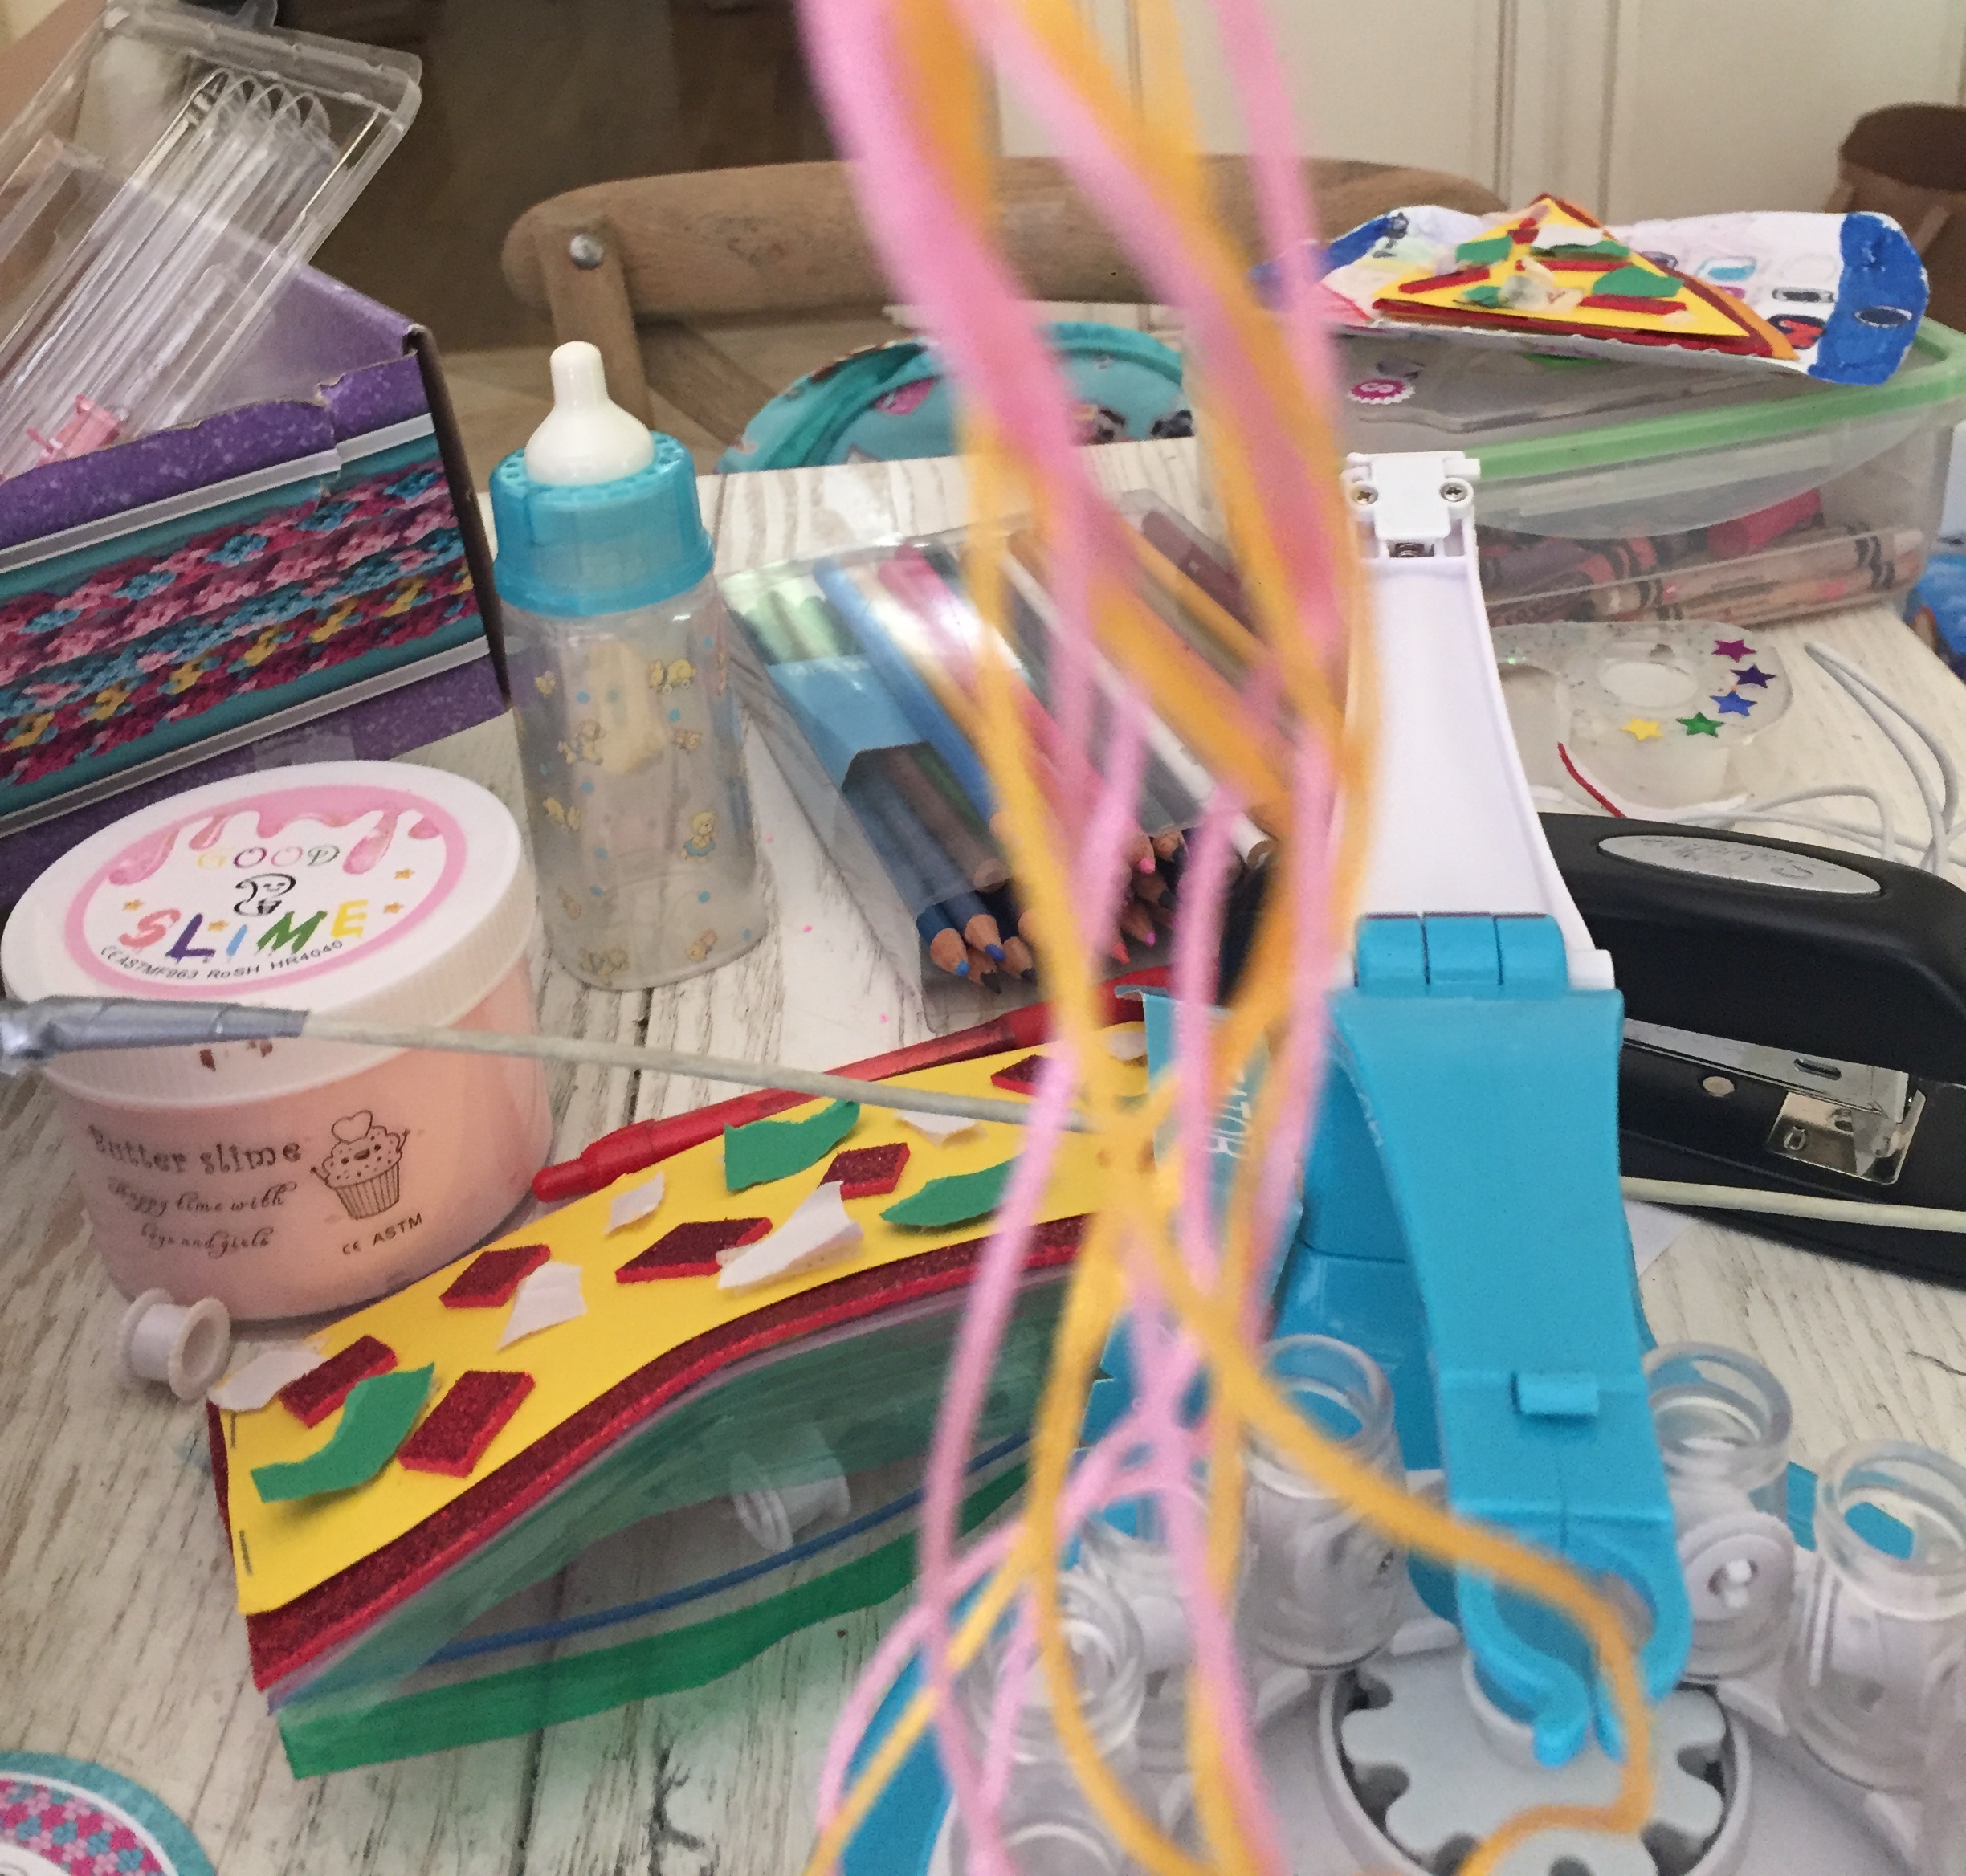
Take all the string out so it looks like in the picture.
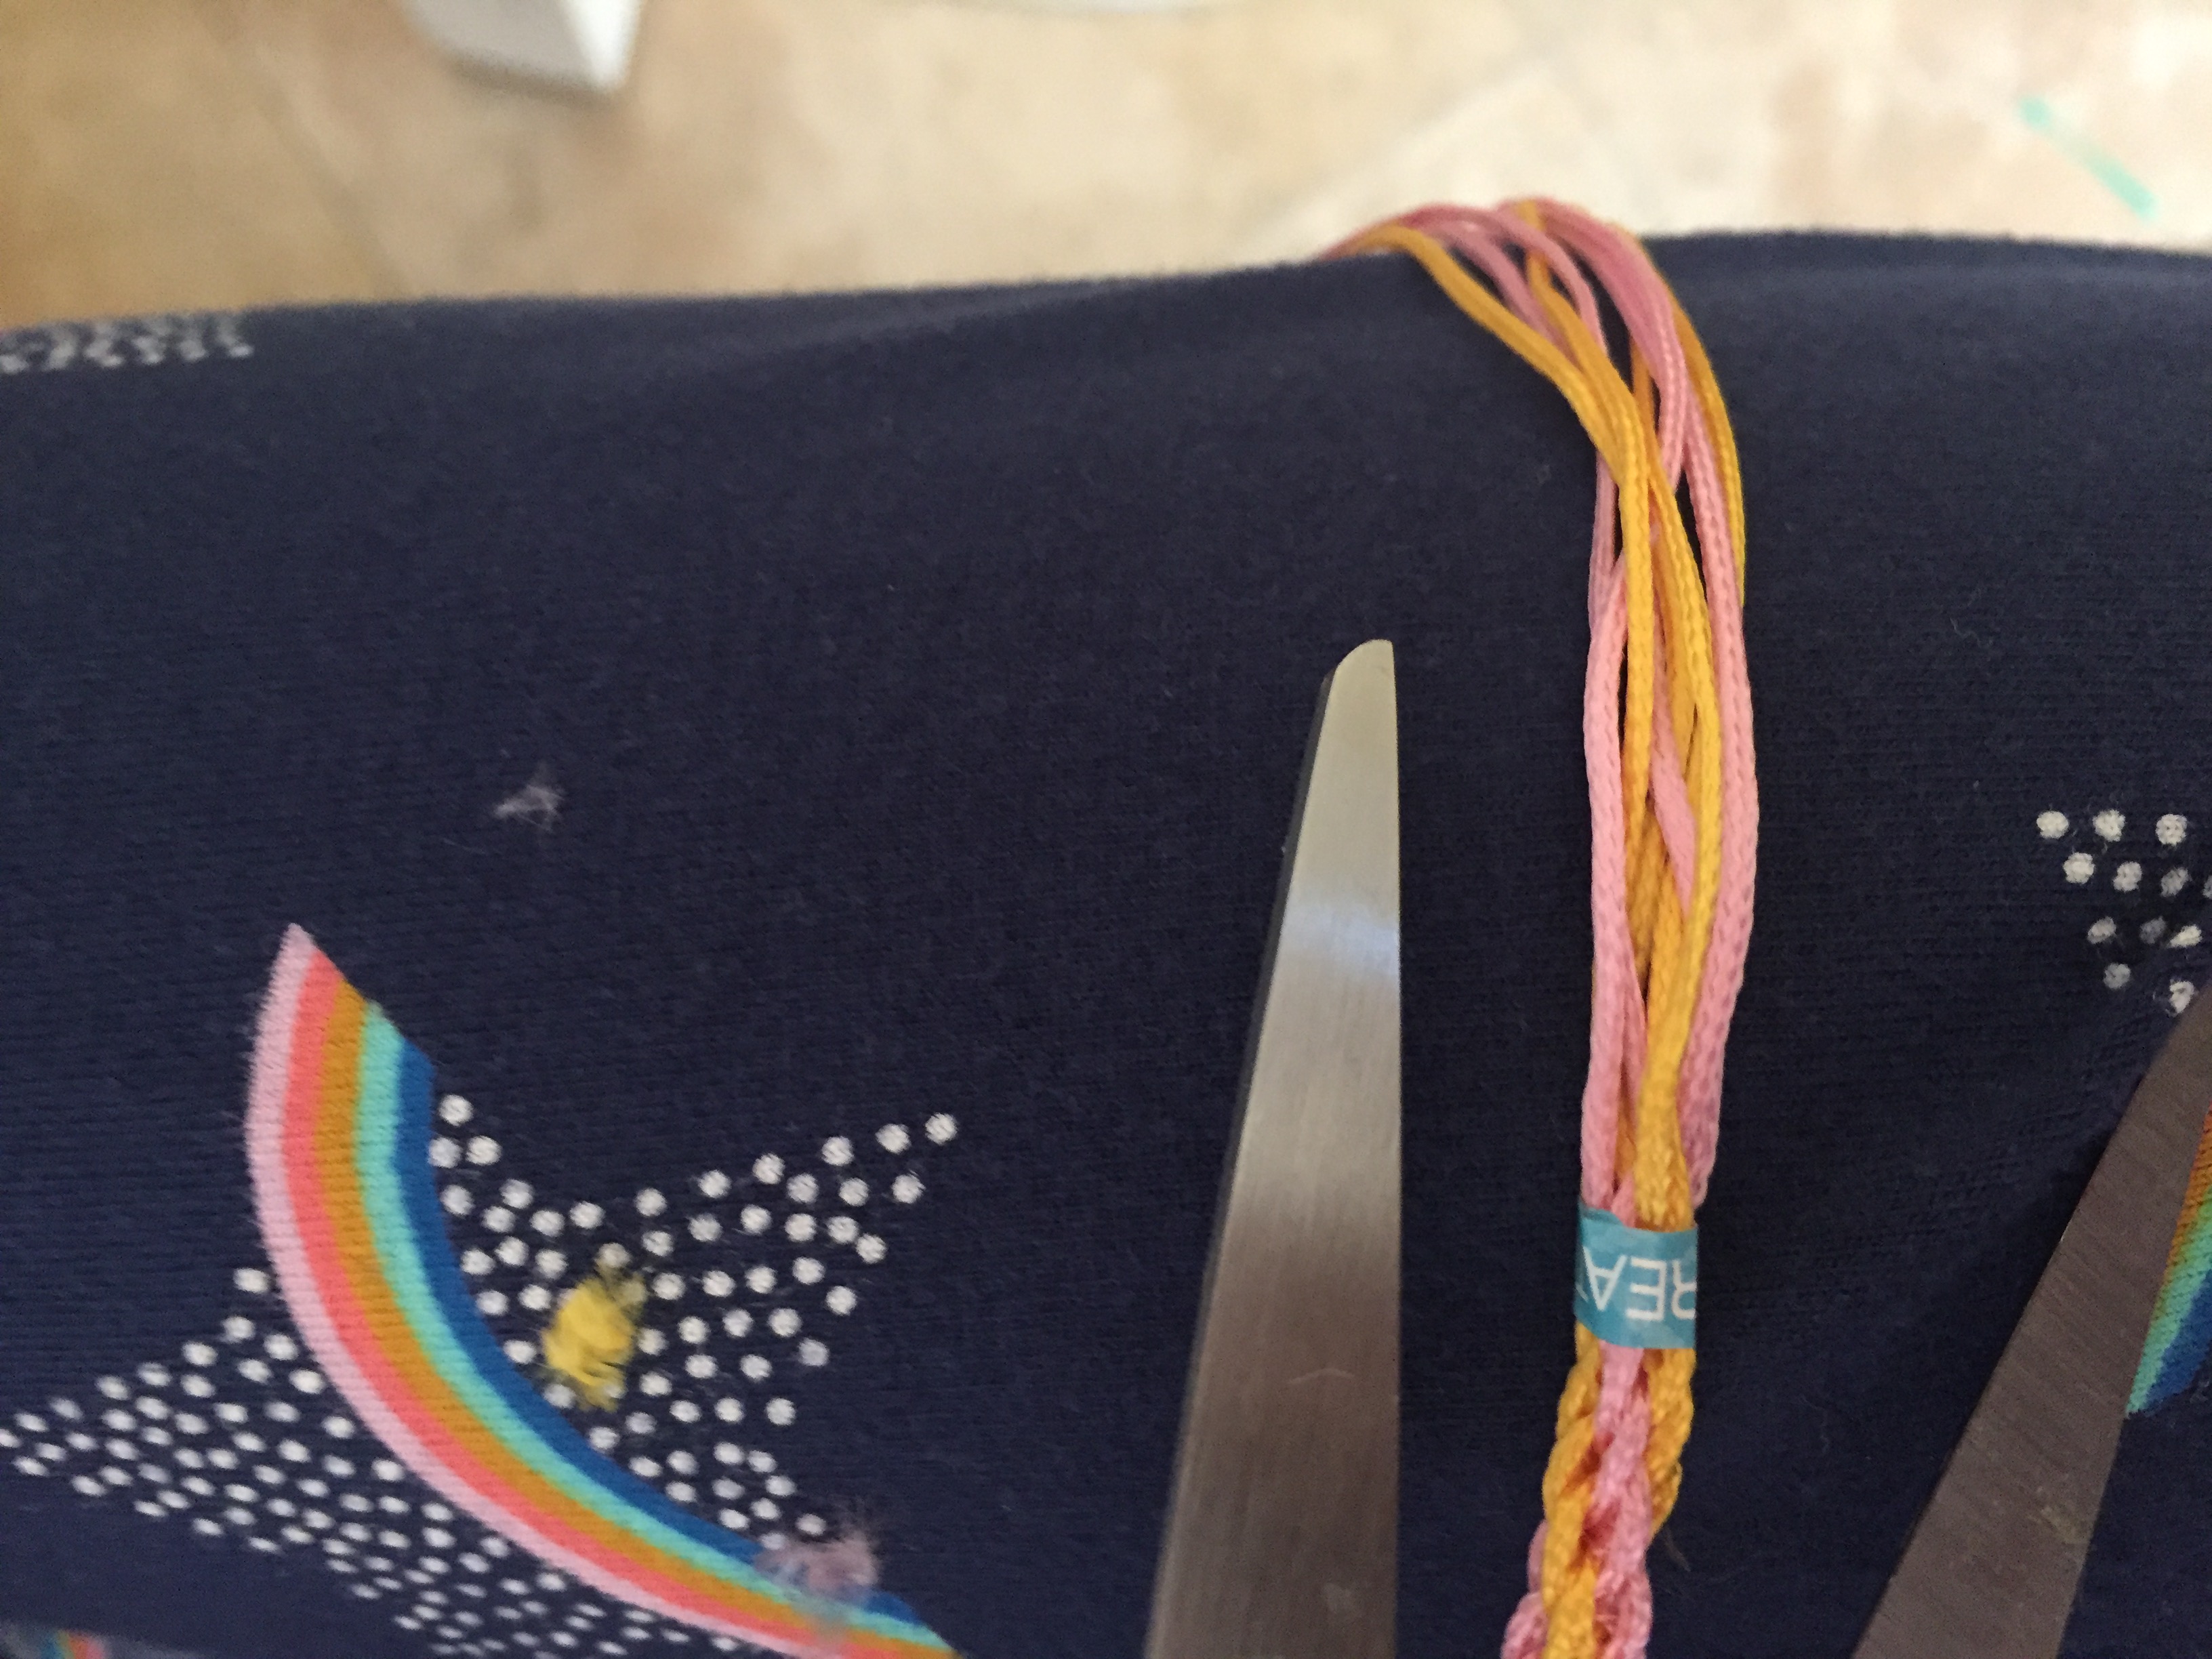
Using scissors, cut off the non twisted part of the bracelet (a little away from the clasp sticker you placed at the end). Keep the remaining string for your next bracelet!
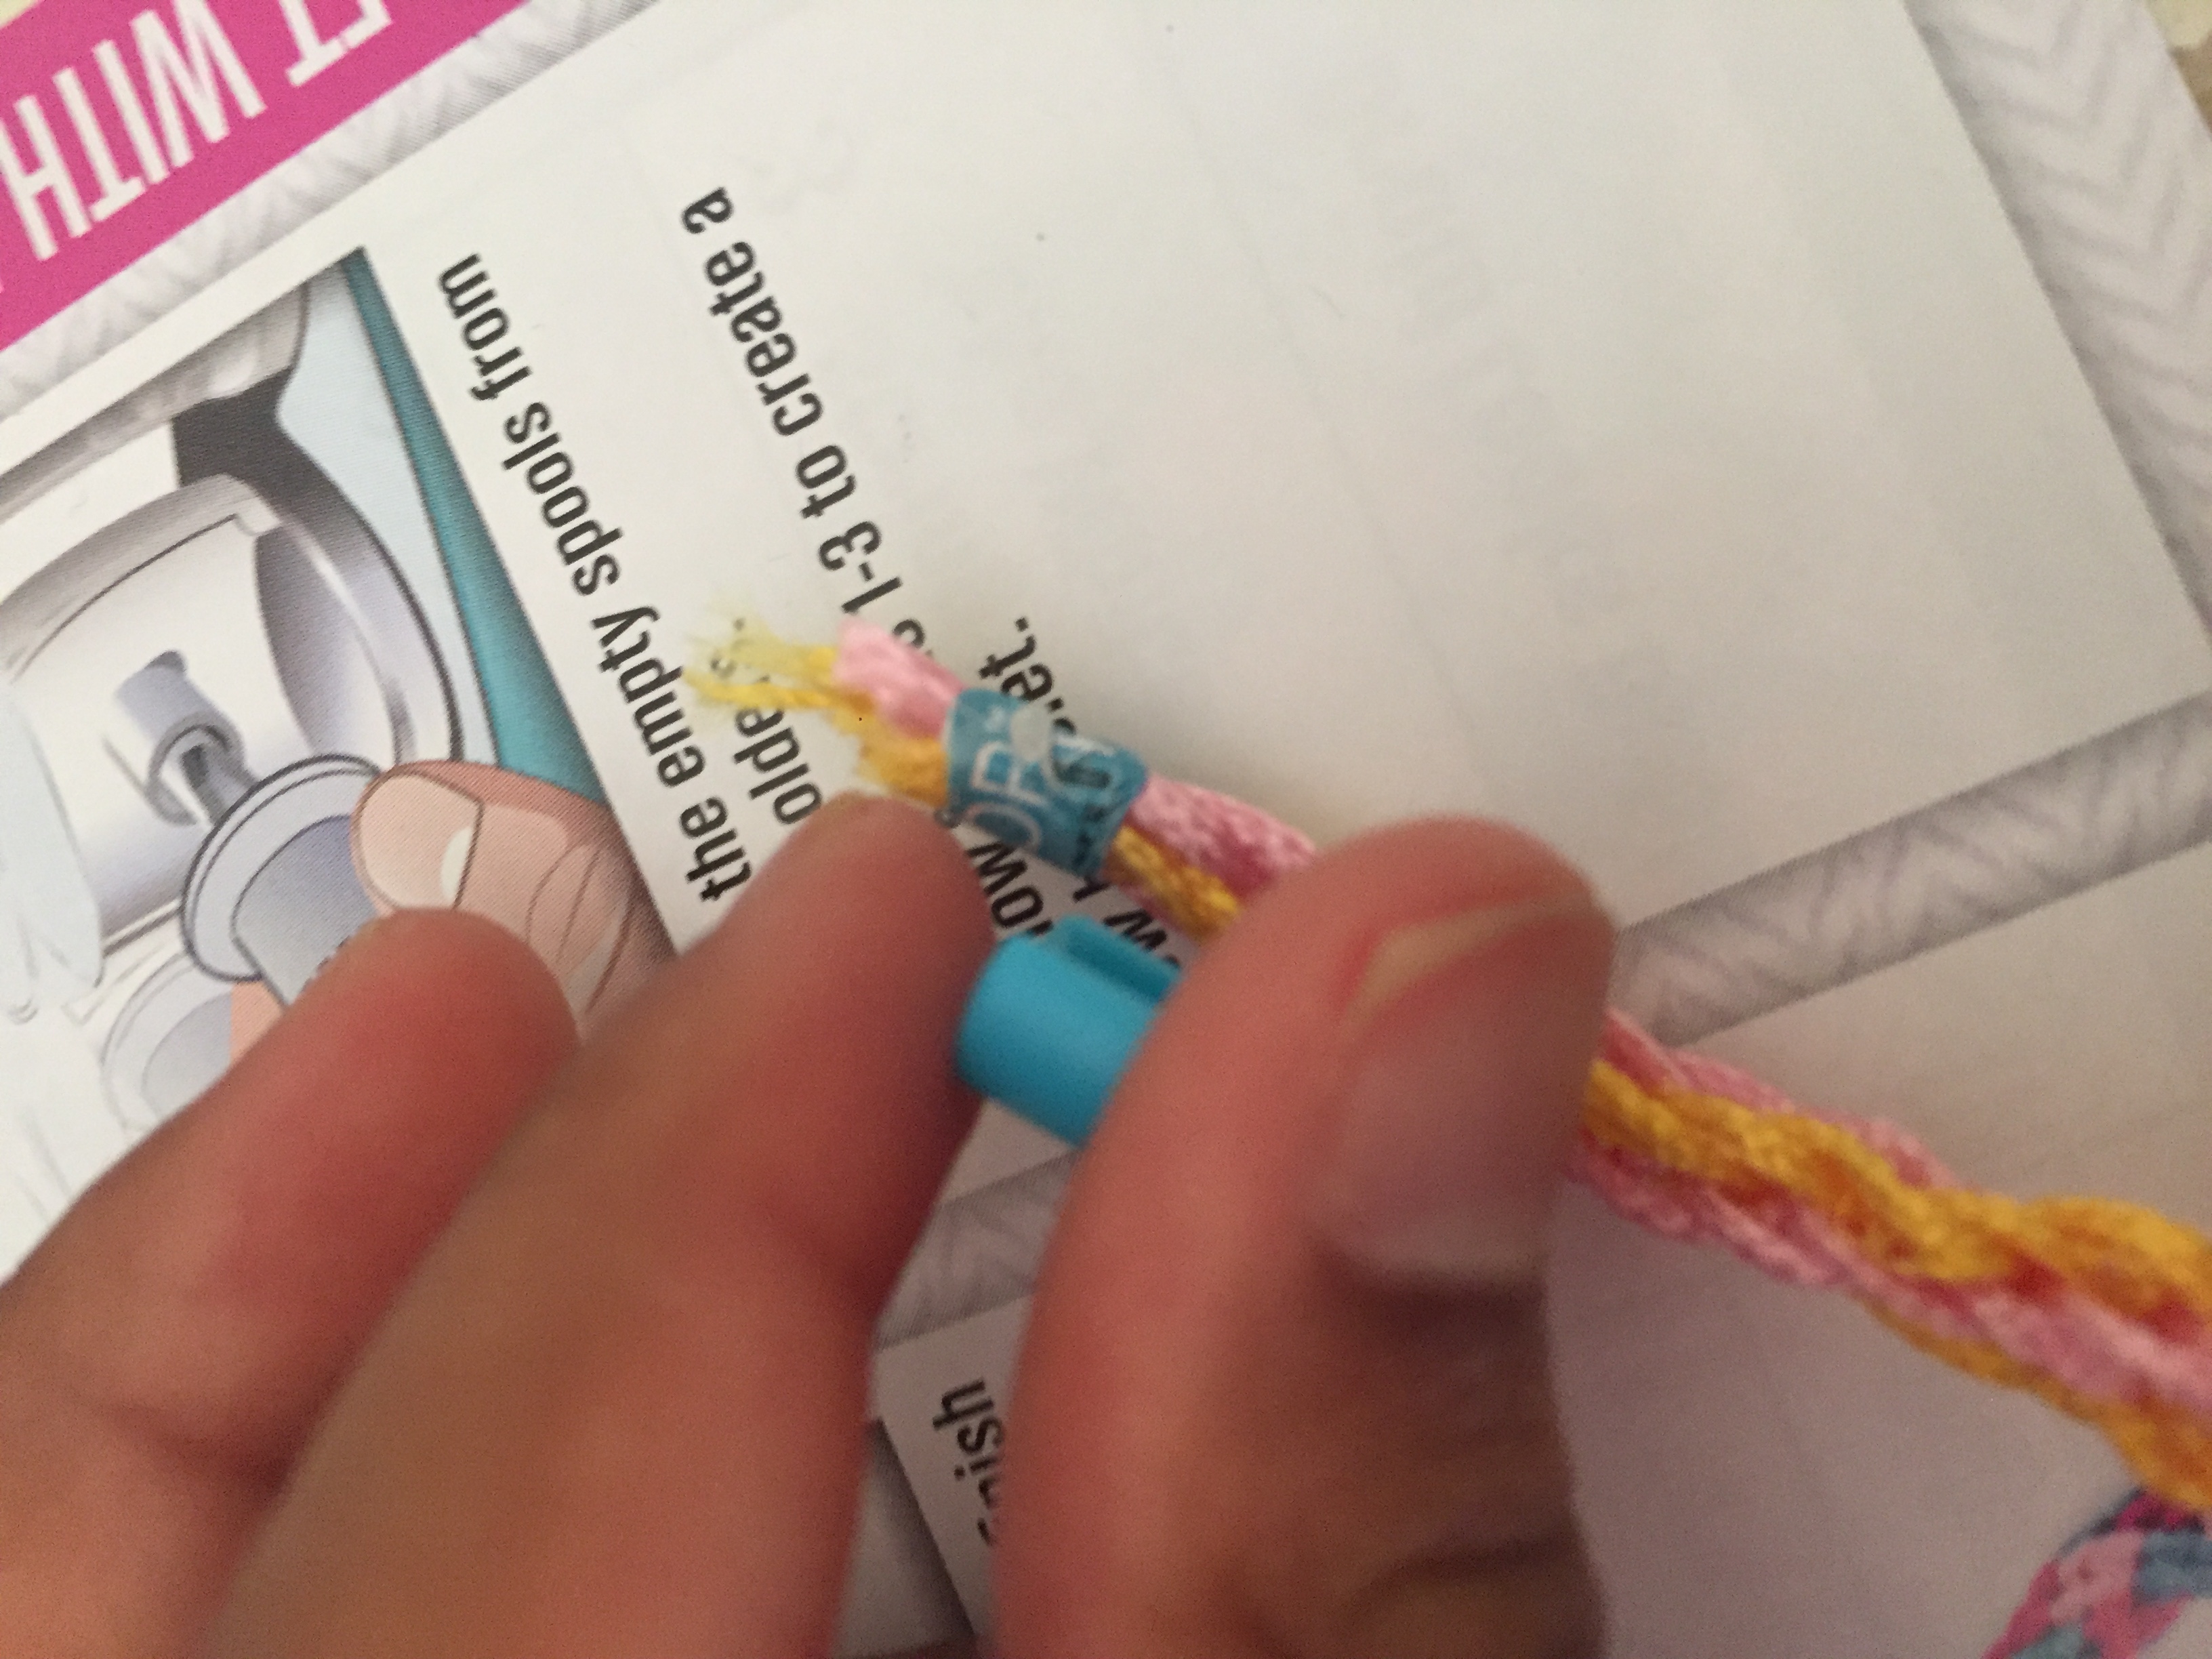
Now take a blue clasp and put it under your sticker.Do this for both of the stickers. You are almost done, just two more steps!
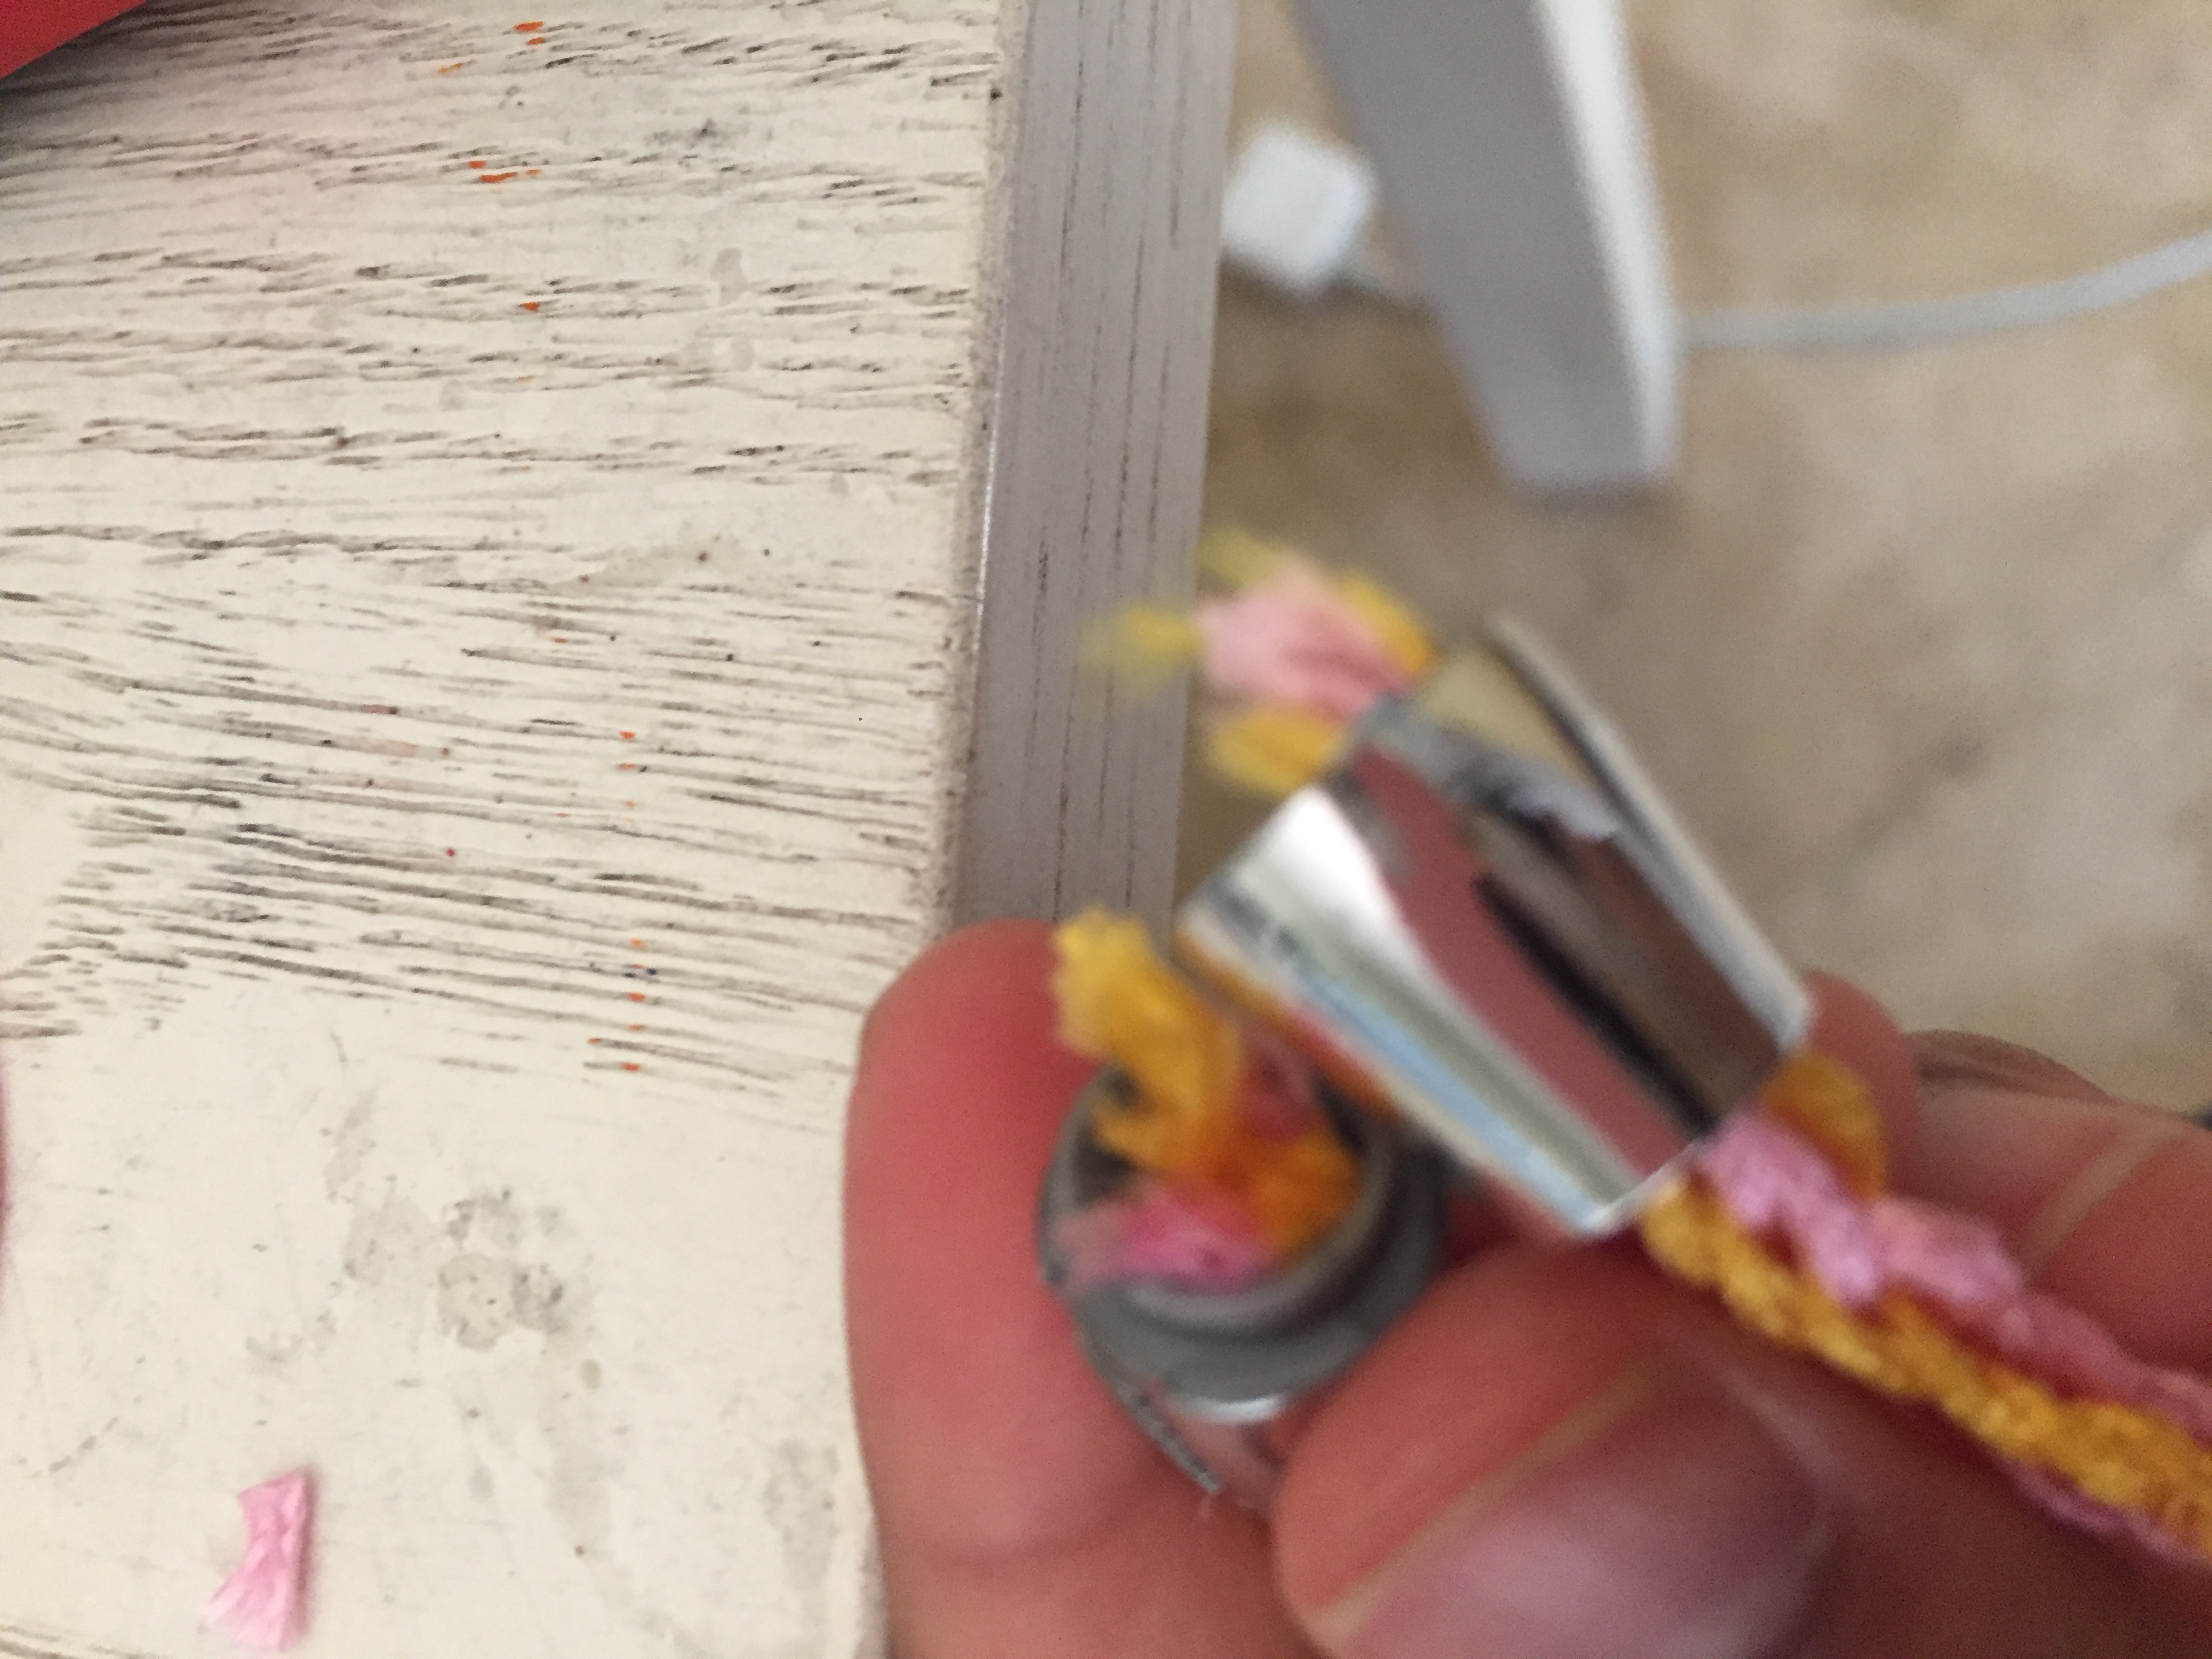
Now put the silver things that connects the bracelet on the blue clasp.Pull through the blue clasp.

Finally put the silver things together. If they don’t close then snip a tiny of the string. Now you are done! Enjoy your bracelet!
